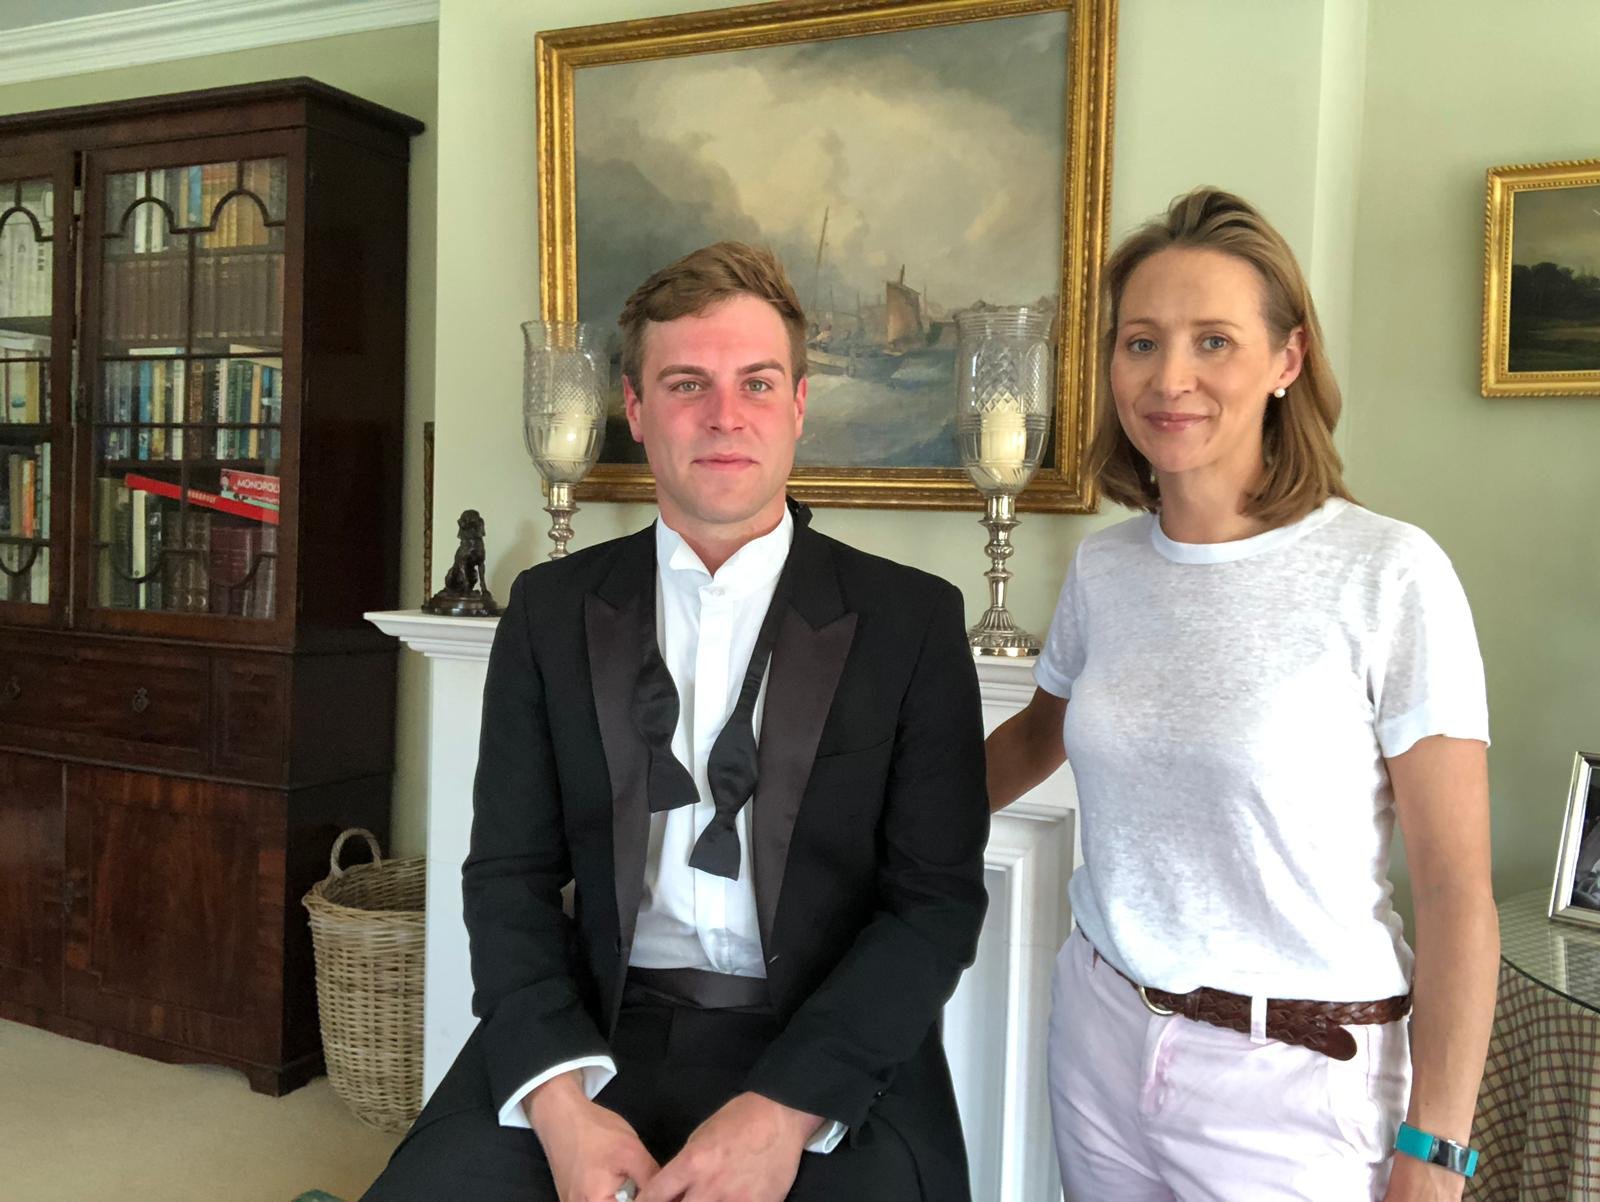
Timelessly elegant & sophisticated... learn the correct way to tie a bow tie so it fits you perfectly!
Bow ties are great not only for formal occasions but for black tie dress code, being both elegant and a great symbol of formality. Pre-tied bow ties do exist and are convenient, but it’s so wonderful and makes for a much better end look to learn how to tie your own.
First things first, make sure the bow tie is the right size for your neck - they are adjustable so give them a little tweak if need be.

Once it’s around your neck, ensure your right-hand side section is hanging longer than the left.
Pass that right section over the top of the left, then tuck it up and under and bring it to rest on your left shoulder.
Now take the left piece and flip it back on itself to create the ‘bow’ shape - you will know you’ve done it right when you can see the beginnings of the bow tie shape.
Holding the flipped left piece firmly in the middle of the bow, pick up the piece that has been resting on the left shoulder, and bring it down over the middle.
Now pinch and hold both sides together, and pull forward slightly to create a little hole through the back of these held pieces.
Push the thicker middle part that is still loose through the hole that you’ve created.
Pull it through about halfway to create your bow, and give it a little tidy and tighten up.
Winston Churchill believed that a bow tie should never be perfect, and should ‘look like a bow tie’...so embrace the imperfections!

I think a well-tied bow tie looks infinitely better than shop-bought, so I do hope you’ll find this useful in the future for events and occasions!
Love,