How to create the perfect, super-secure hair bun for riding and ballet with both long and short hair...
So many details go into preparing for riding! Whether it’s showing or just for fun, it really pays to have your bun-skills down. I thought it would be fun to show you how I create perfectly polished and most importantly of all, secure, hair buns for riding with both long and short hair.
It does take some practice, but once you’ve given it a few goes you’ll be on top form!
I also thought whilst we were here I would show you how I prepare Coco’s hair for ballet with the higher bun. So let’s get started!
Items you will need:
Hair ties/bands
Hairnets (sometimes I adjust these slightly for my smaller head by tying an extra knot)
Bun Nets
Hair grips - with the ends folded back on themselves for total security. These are fantastic at keeping hair in place and mean you’re not ‘pushing’ them back in all day. But be warned! They are a bit of a nuisance to remove.
Hairspray
Good fine-toothed hairbrush
Low bun for riding - long hair
Get the hair into a ponytail as low and close to the nape of the neck as possible. Secure with a hairband.
Don’t worry too much about whispy sides at this point as you can smooth these down in a moment with some hairspray.
Twist the ponytail, and wrap around itself to create a tight bun. Try to keep nice and tight, with no pieces falling out.
Place a bun net over the bun once, then twist and fold back on itself over the bun for a second time.
Secure the bun net over the bun with your adapted grips.
Give the hair a good spray with hairspray and smooth all over.
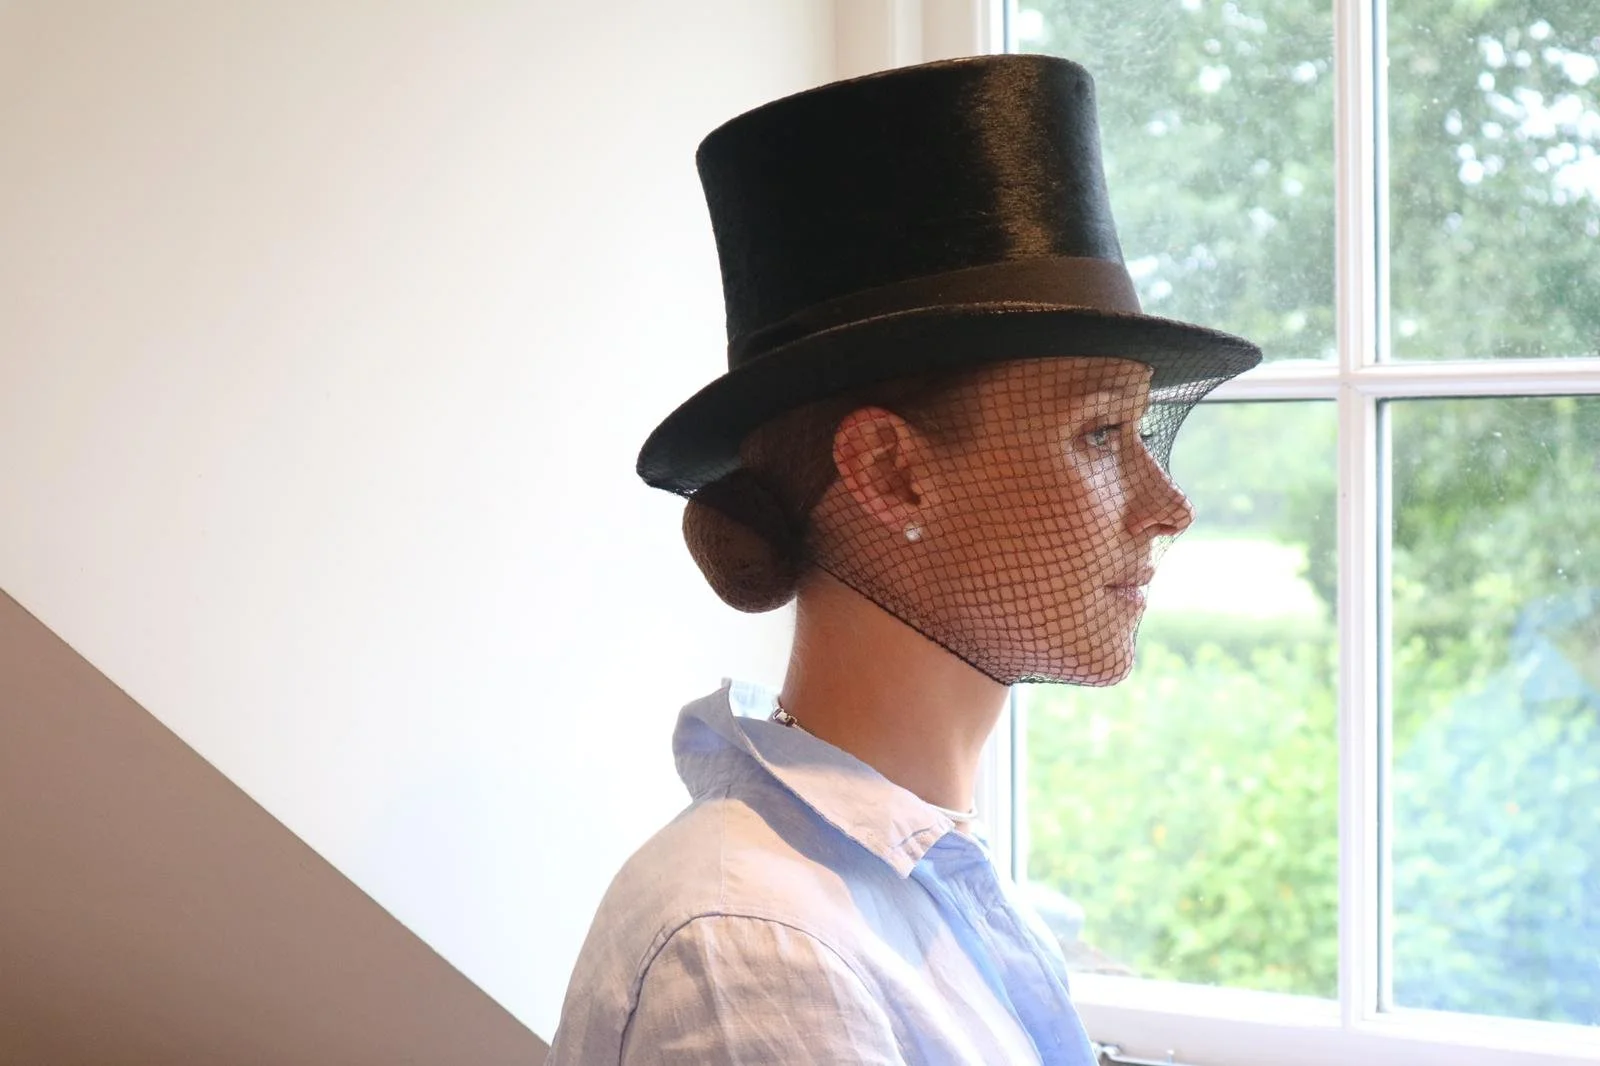
Complete with hair net if competing, with either the knots at the front and back (my favourite) or either side (Coco’s favourite!)
Twist the hairnet into a figure of eight at the back, and turn the lower half back over itself to cover the bun.
Turn the knots in on themselves to hide.
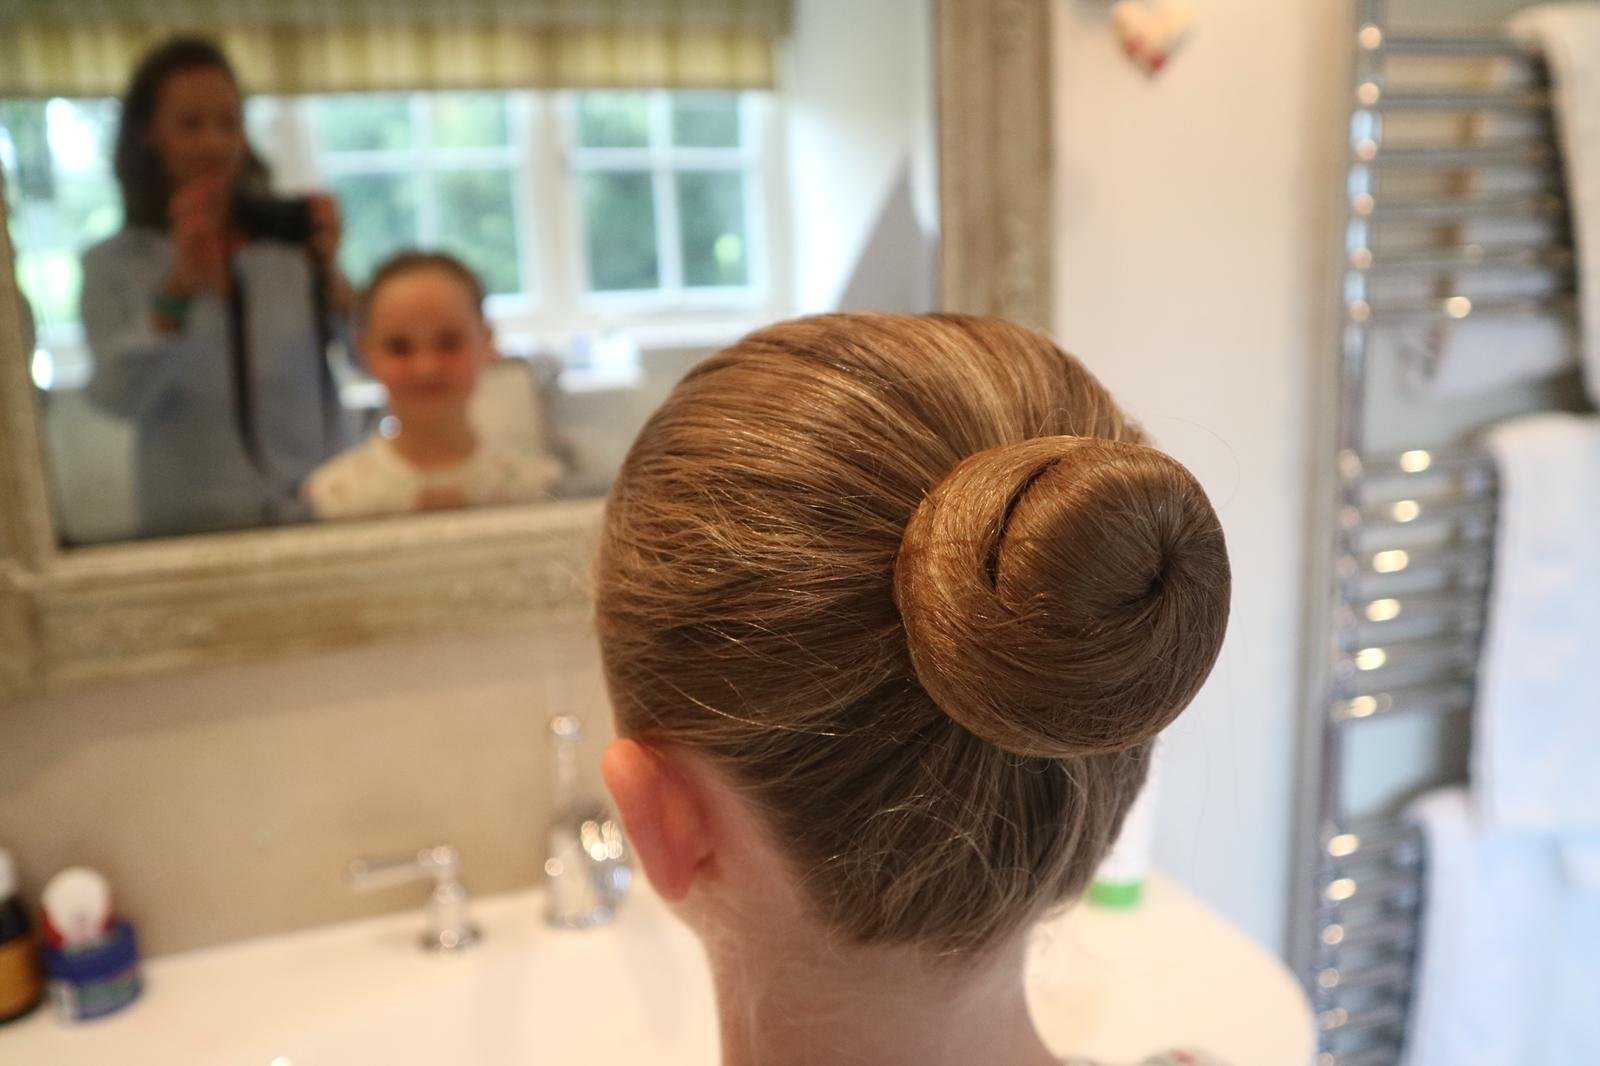
High bun for ballet - long hair
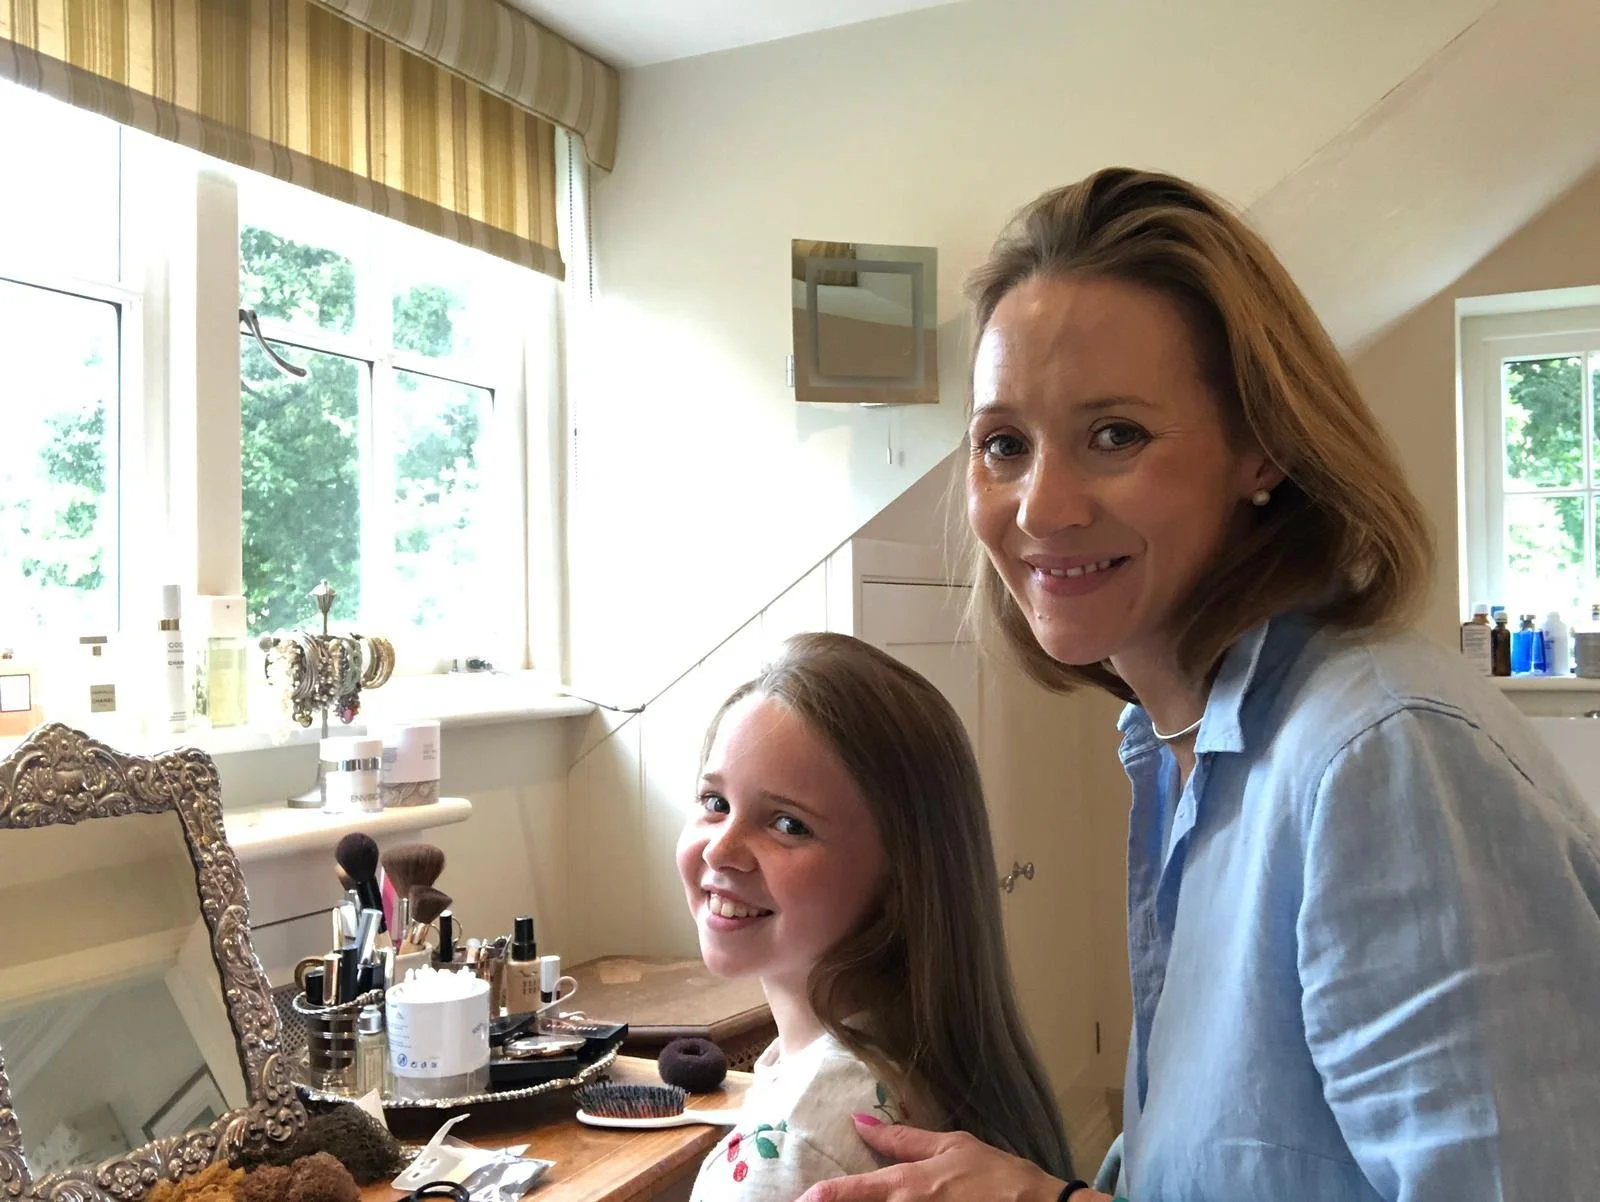
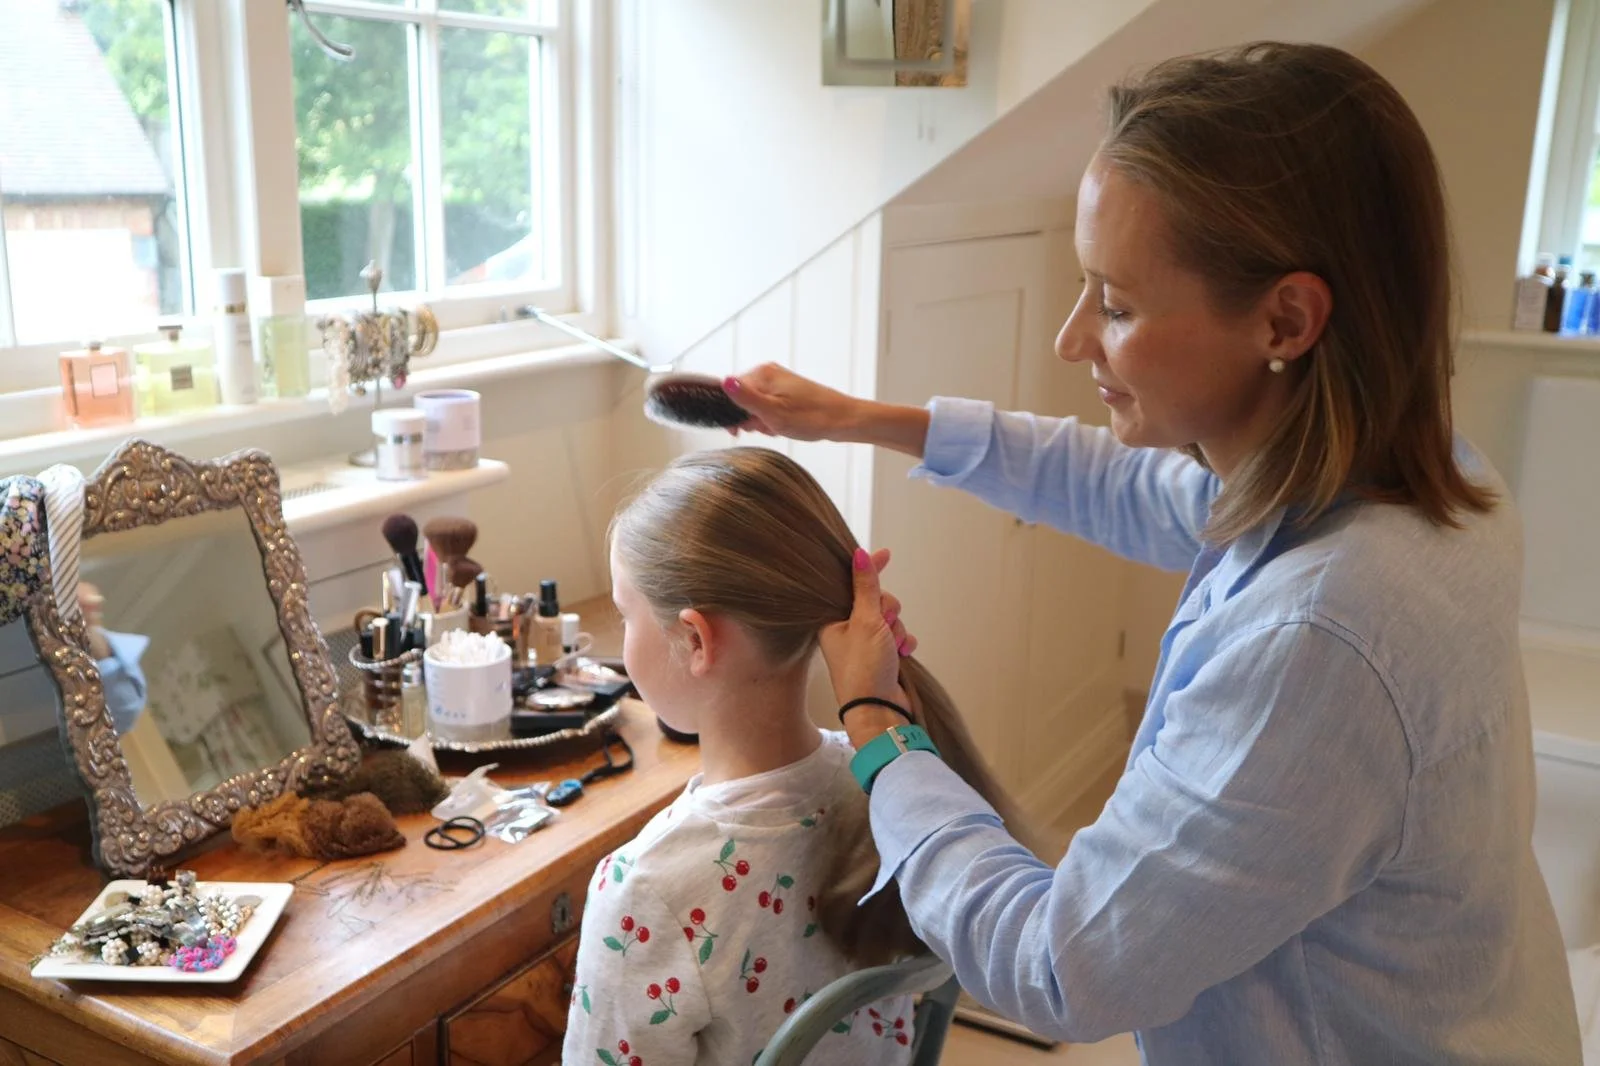
Secure the hair into a ponytail around the crown area. Get as smooth as you can with the brush - I find that hair that isn’t freshly washed is much easier for this!
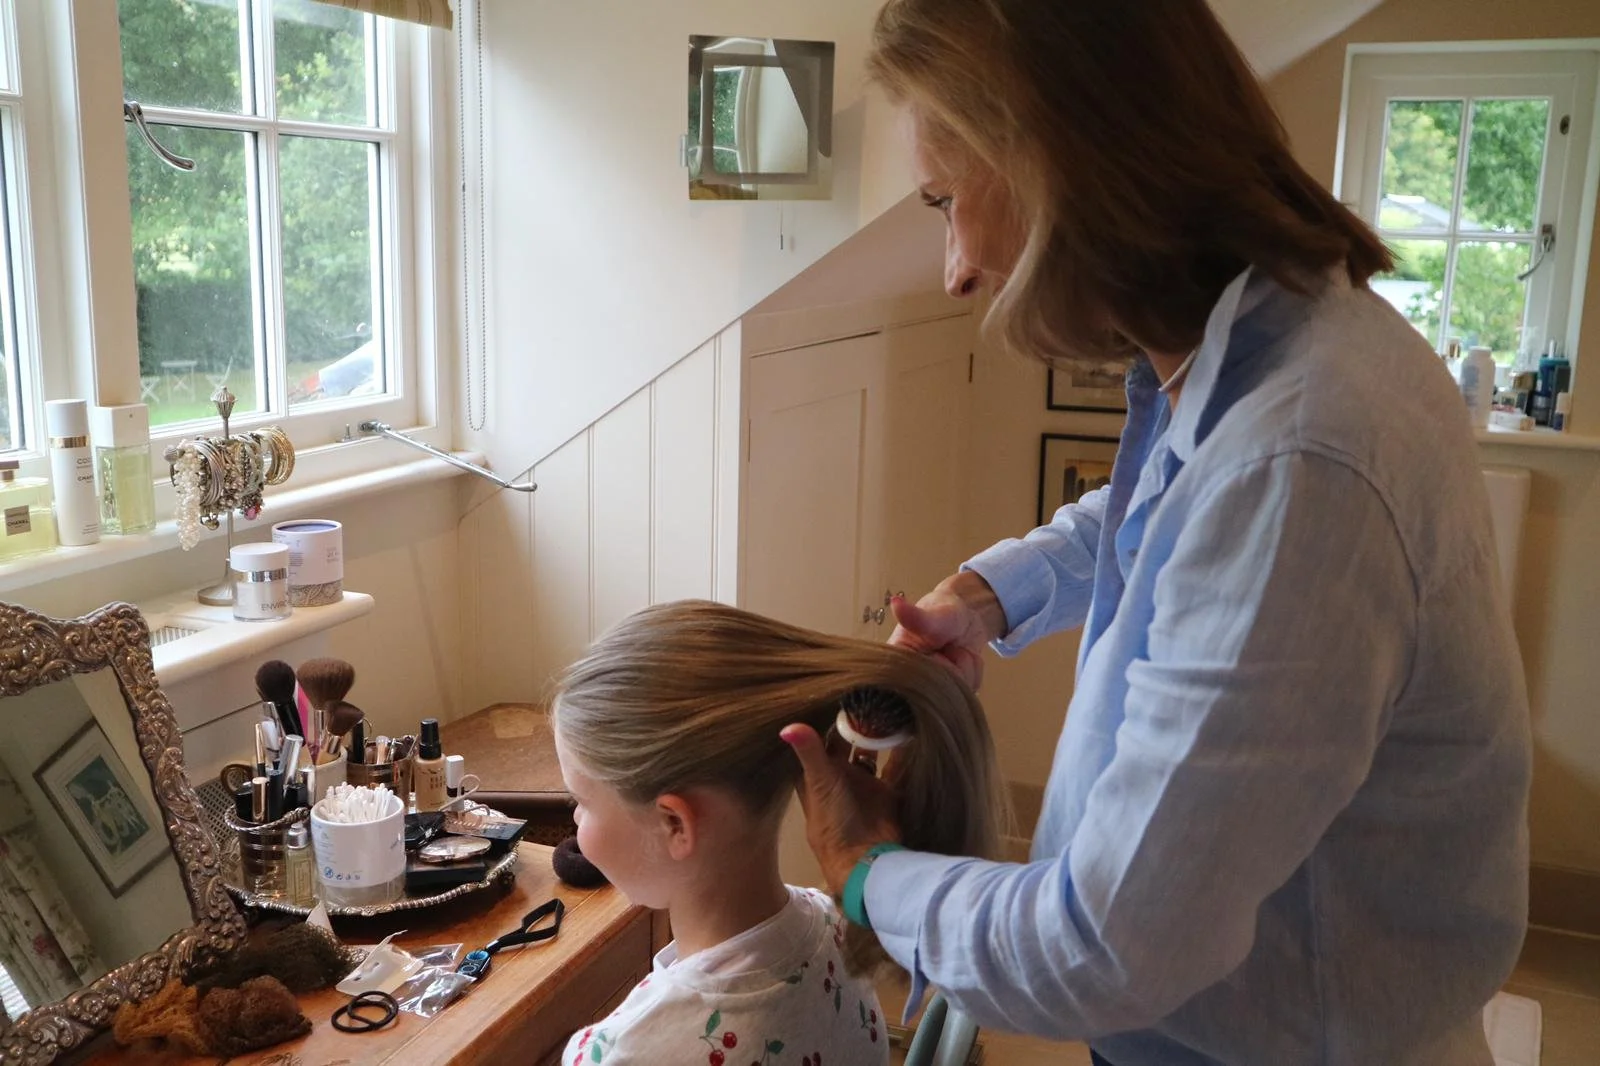
As before, twist the ponytail and then wrap around itself to create the tight bun.
Use another hair tie to secure the hair into this bun.
Use your grips with their bent back ends to give further security if needed.
Give a good spritz of hairspray (mind little eyes!) and use your fine bristled brush to really smooth down.
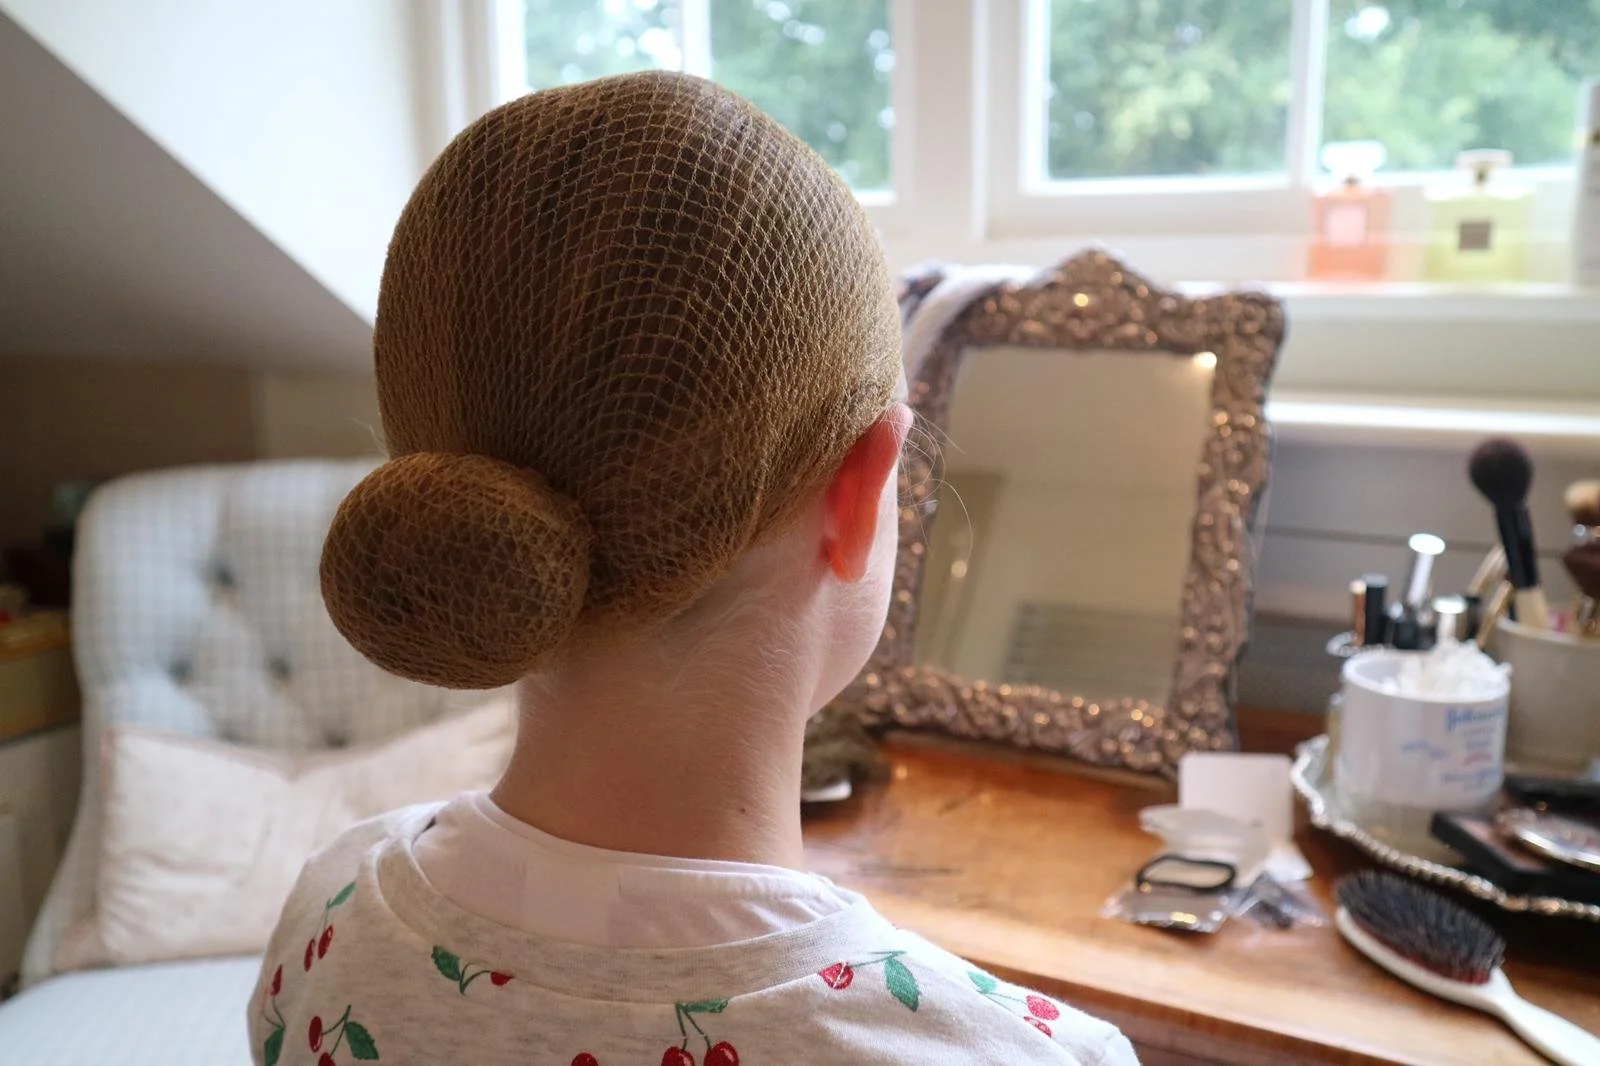
Low bun for riding - short hair
As before, pop the hair into a super low ponytail. Get it as close to the nape of the neck as possible.
Place a bun ring (I find the smaller the daintier and less intrusive when wearing a riding hat) over the hair tie at the base of the ponytail.
Splay your hair around the bun ring, making sure to cover it as fully and evenly as possible.
Use another hair tie to secure this hair in place.
Grab your bun net and place over the top of the bun, then give the net a twist and double up by going back over the bun again.
Now go in with another hairband, and secure this bun net into place.
This should be feeling very secure now, so you shouldn’t need any pins.
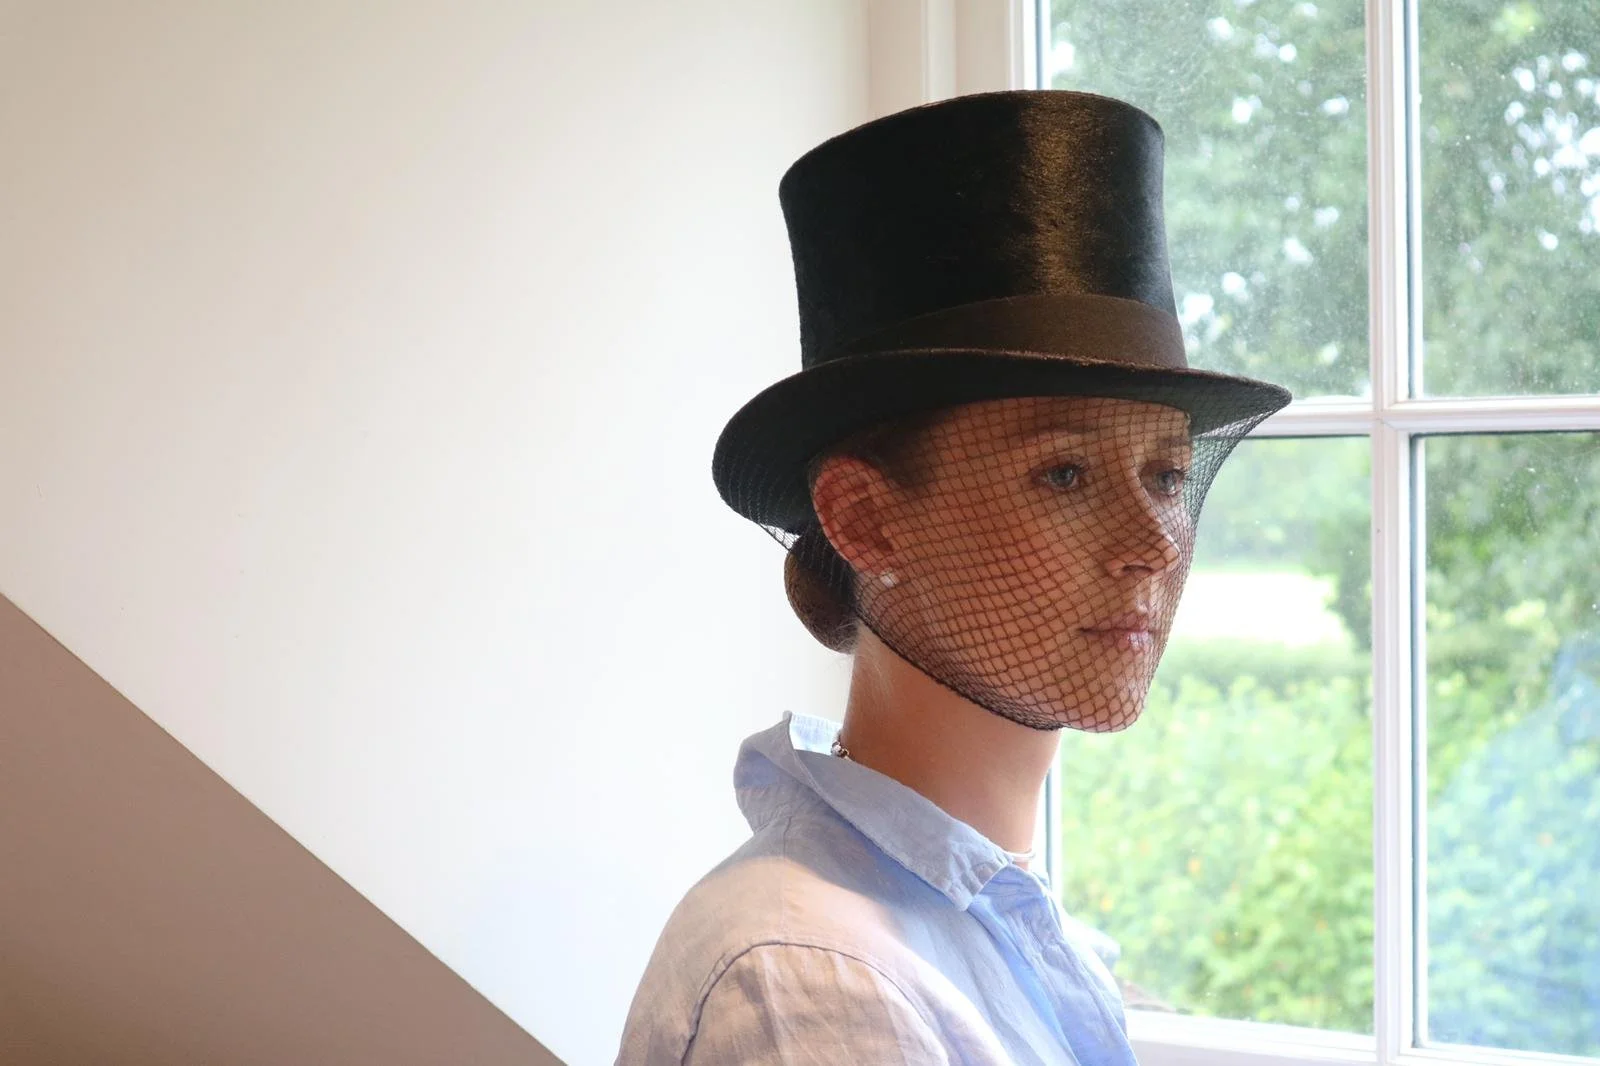
Now if riding, pop your hair net on as above - I prefer to have the knots at the front and back. Give the net a little twist at the bottom, and pop the twisted end back over the bun for a super polished look!
Love,