
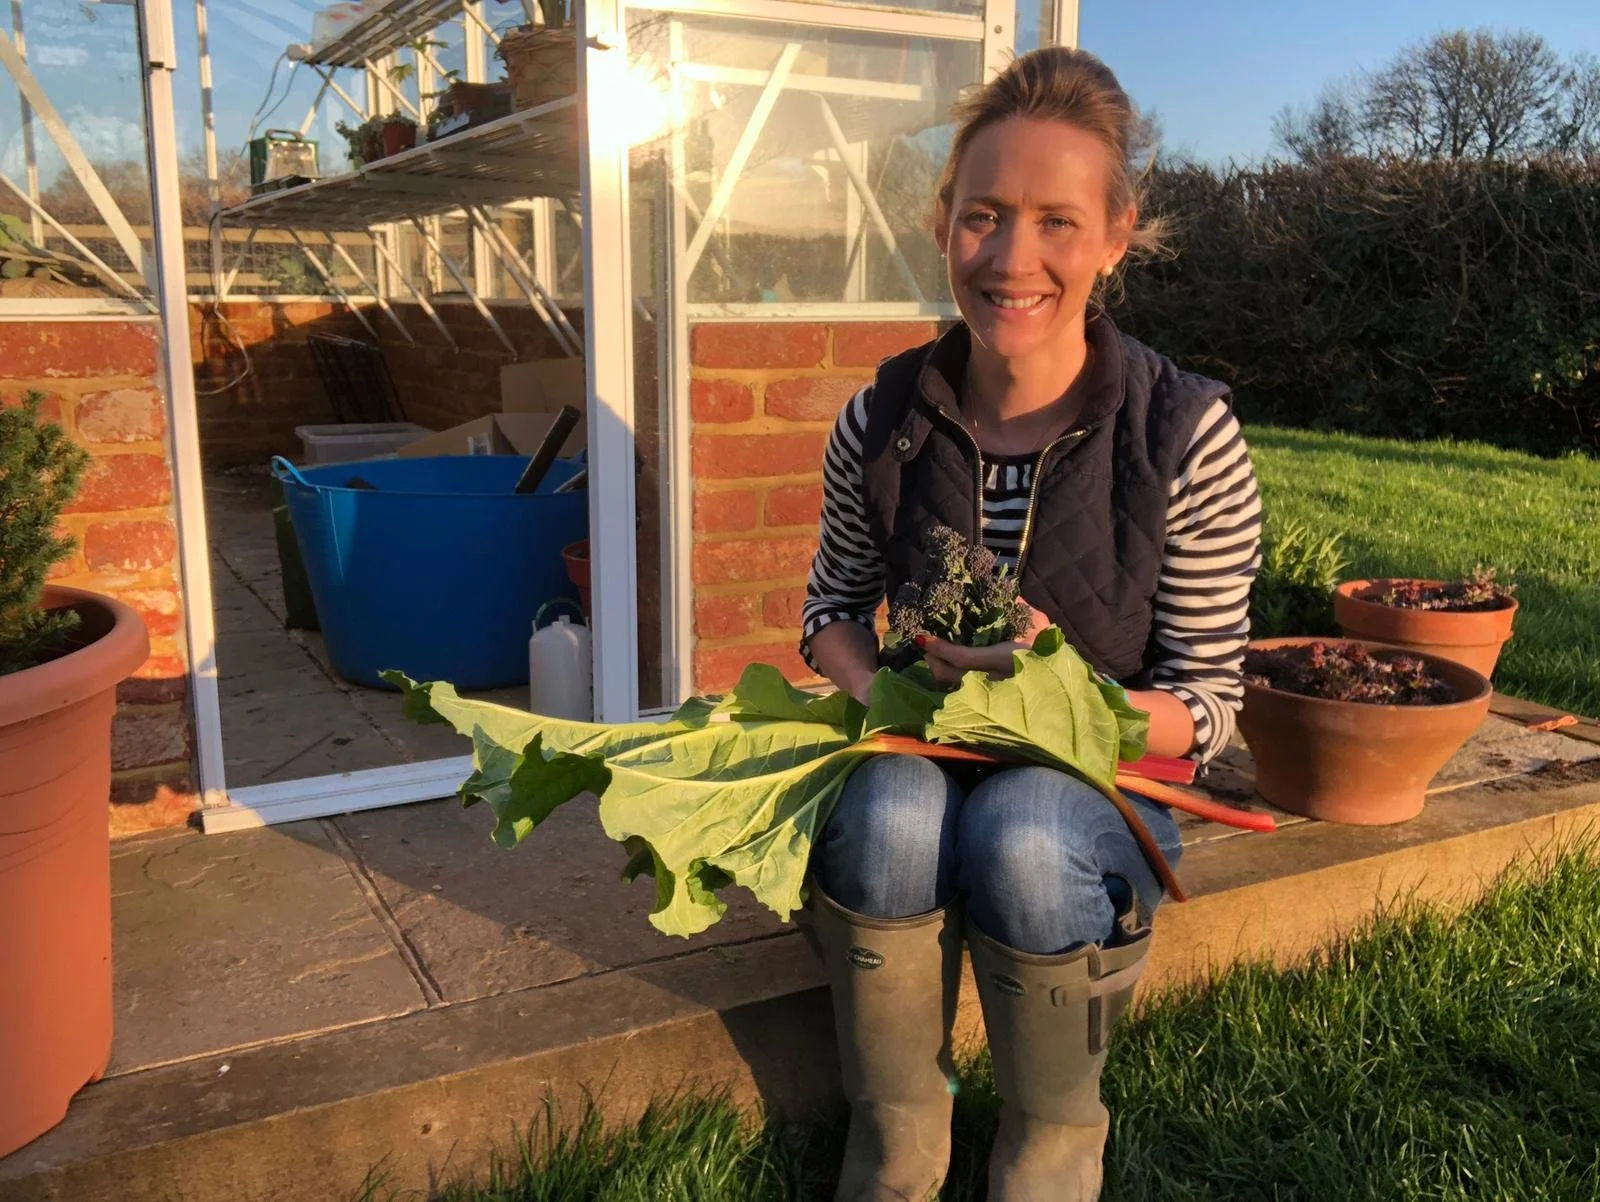
Grow your own! How I get my vegetable patch planted and thriving ready for an exciting harvest!
I am very lucky to have 3 raised beds that I utilise for many different types of veg - let me show you how I do it.
Start with your beds completely empty but filled with some good quality soil. I have started a few things off in the greenhouse this year so will pop these in, alongside some things from seed too as a fun experiment.
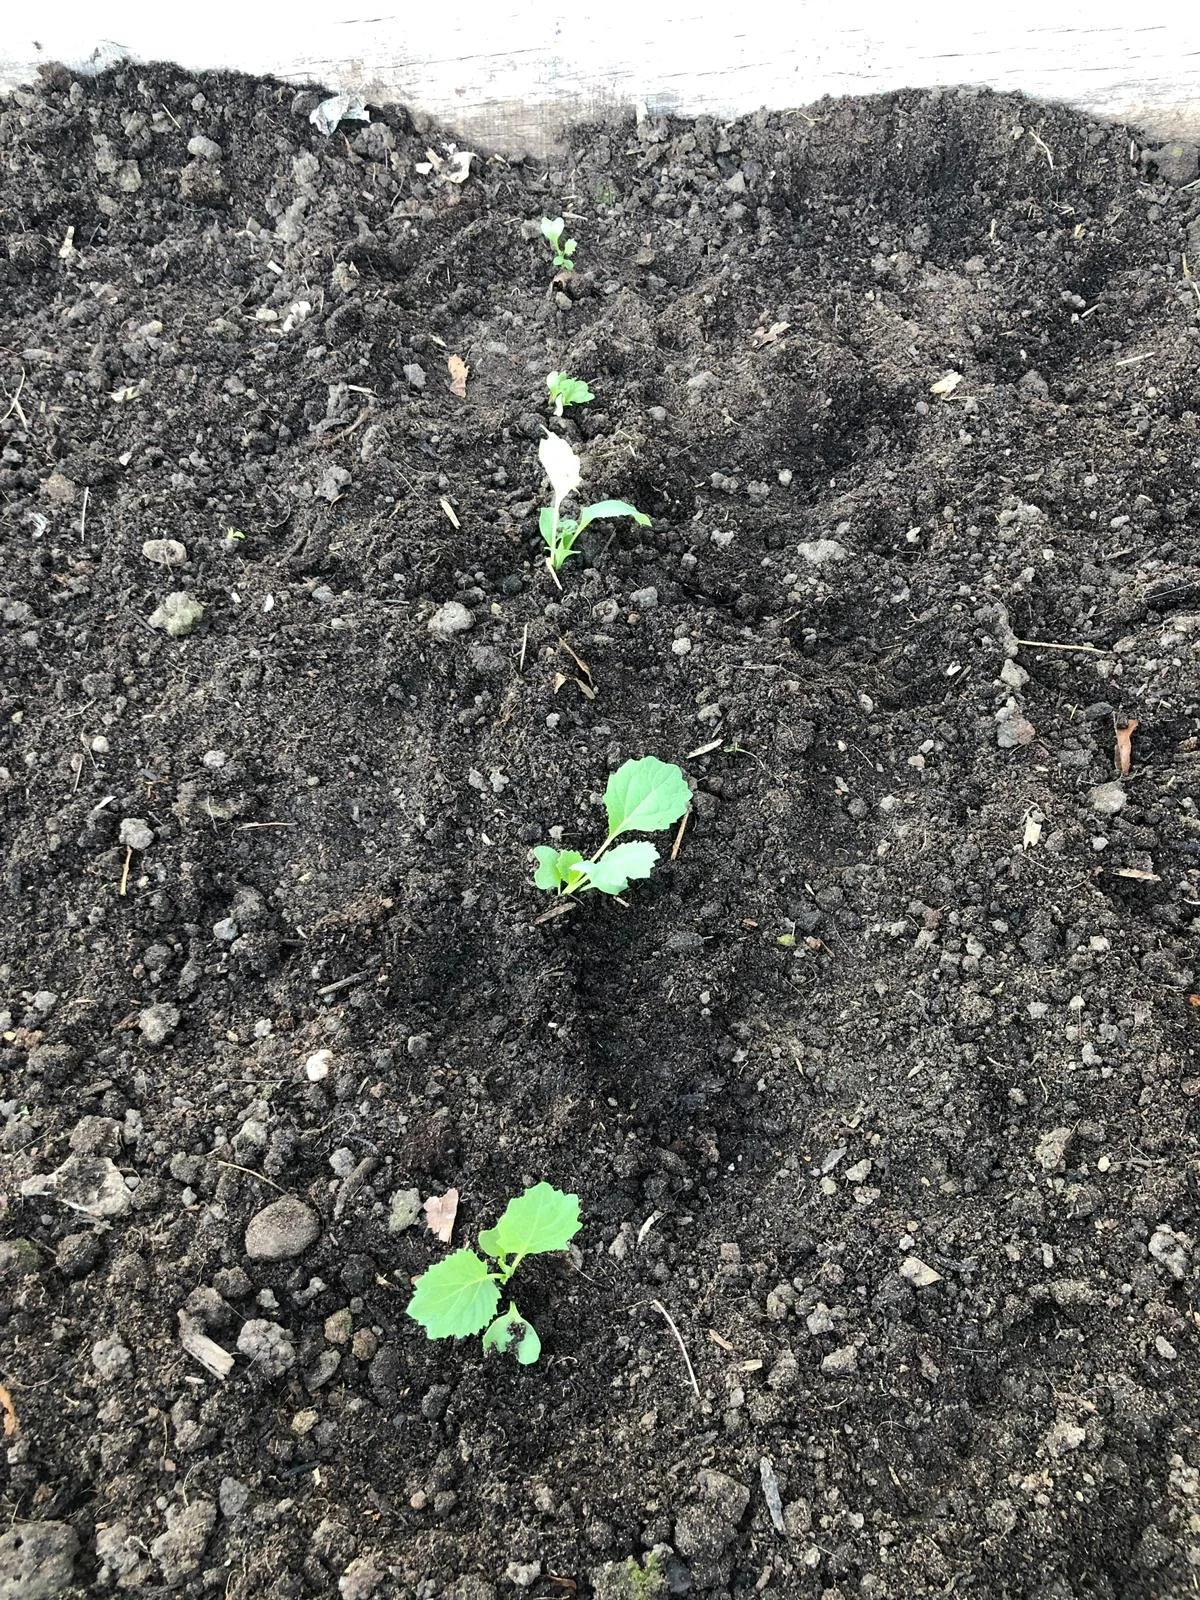
First up I’ll be planting some savoy cabbage. I did start these a little while ago in the greenhouse but now it’s the perfect time to put them into the beds for optimum growth.
I’ll also be planting carrots. Again, I started these in the greenhouse, but I will be putting some into the beds straight from seed to see what does the best.
I also have some Moleseed dwarf French beans. These did so, so well last year. The beauty is you don’t need to put canes in for them, they just grow at a low level. I had such an abundance of green beans last year so I’m excited to try again!
Then I have two different types of lettuce - Italian picking and traditional round lettuce.
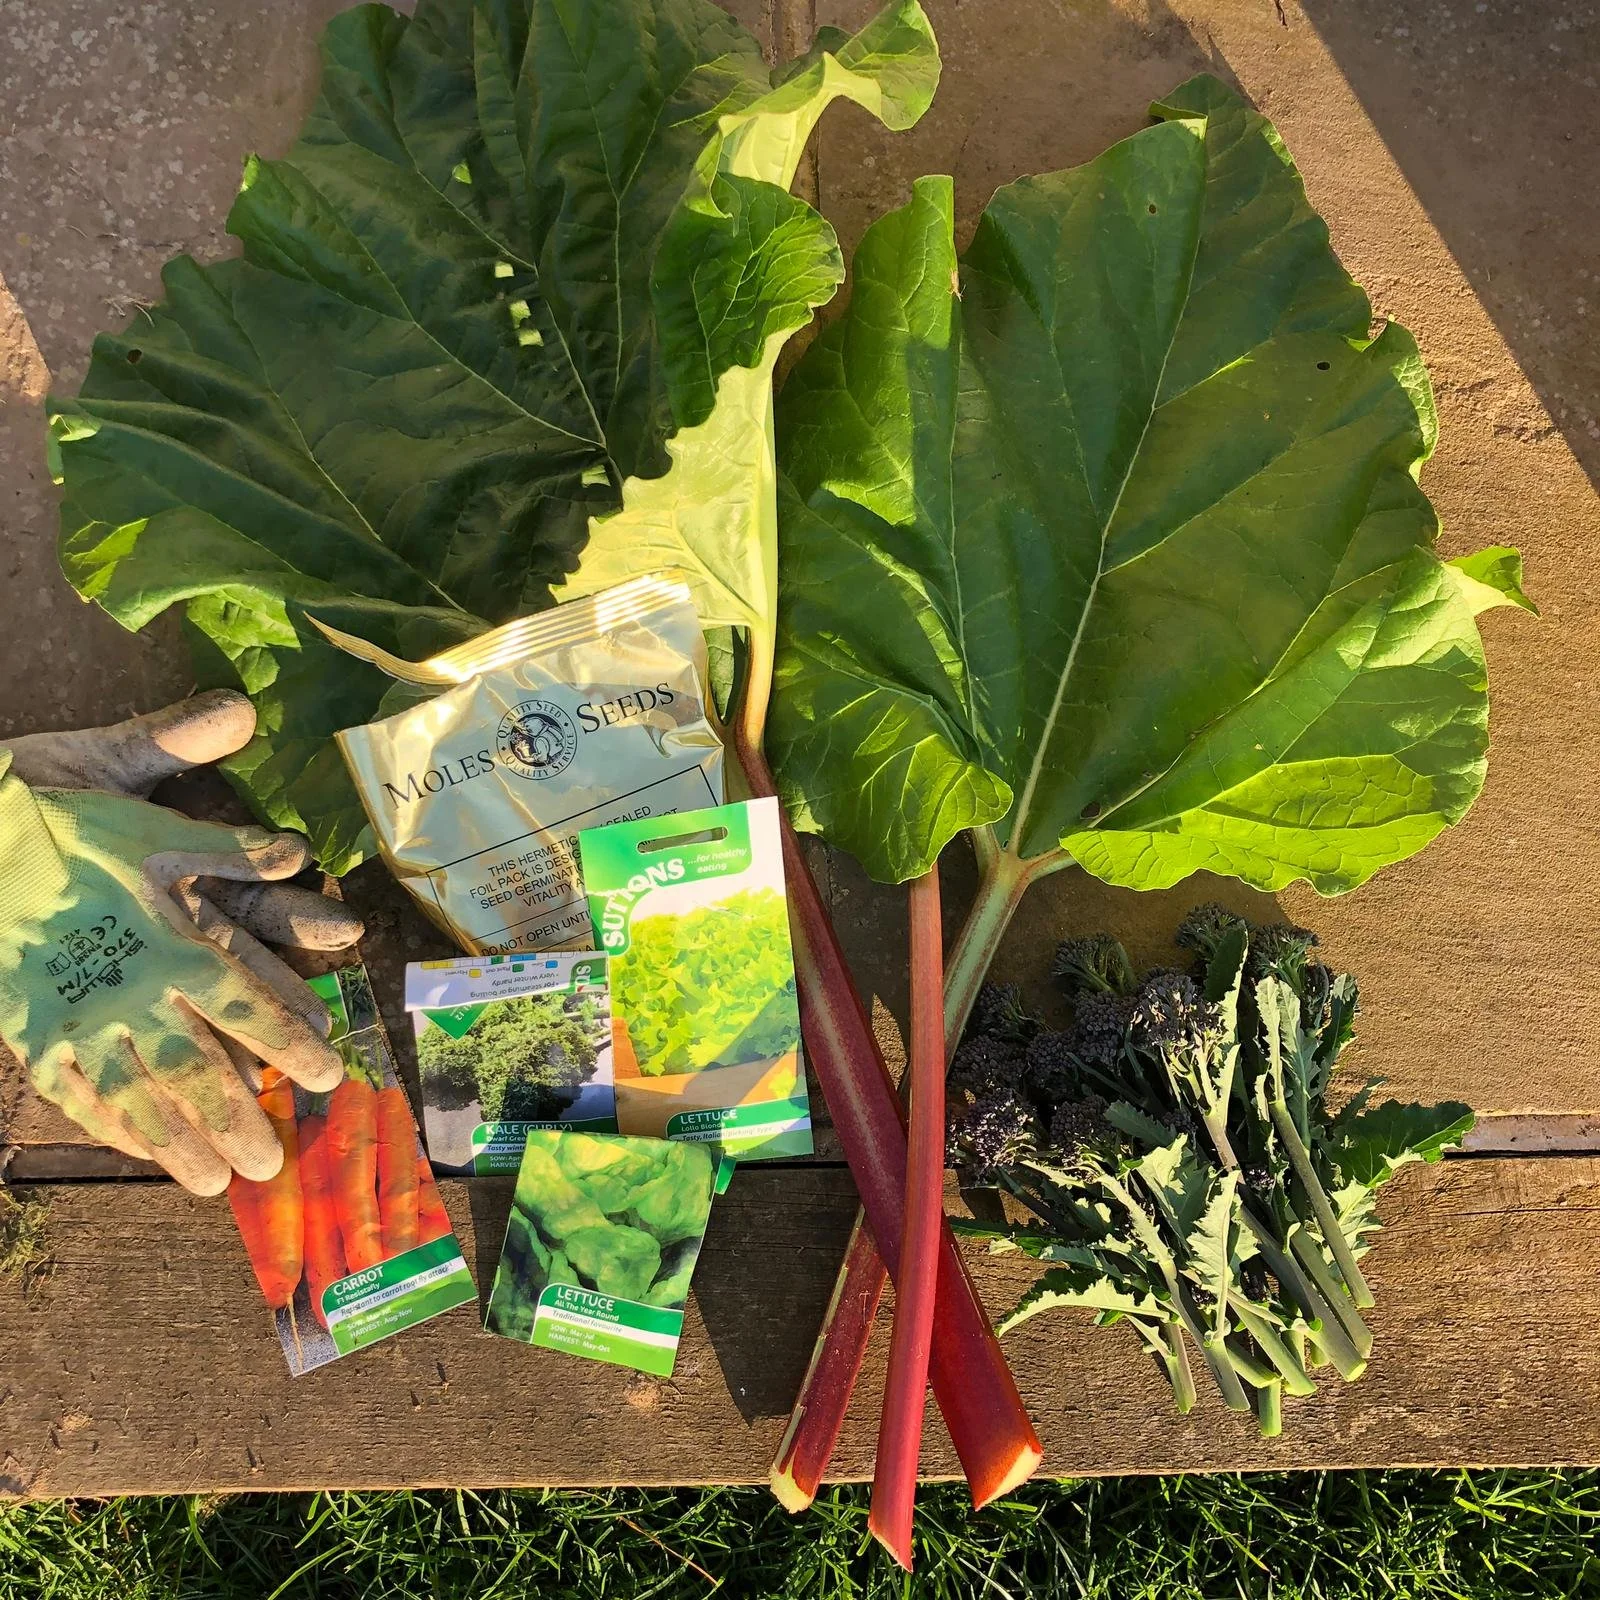
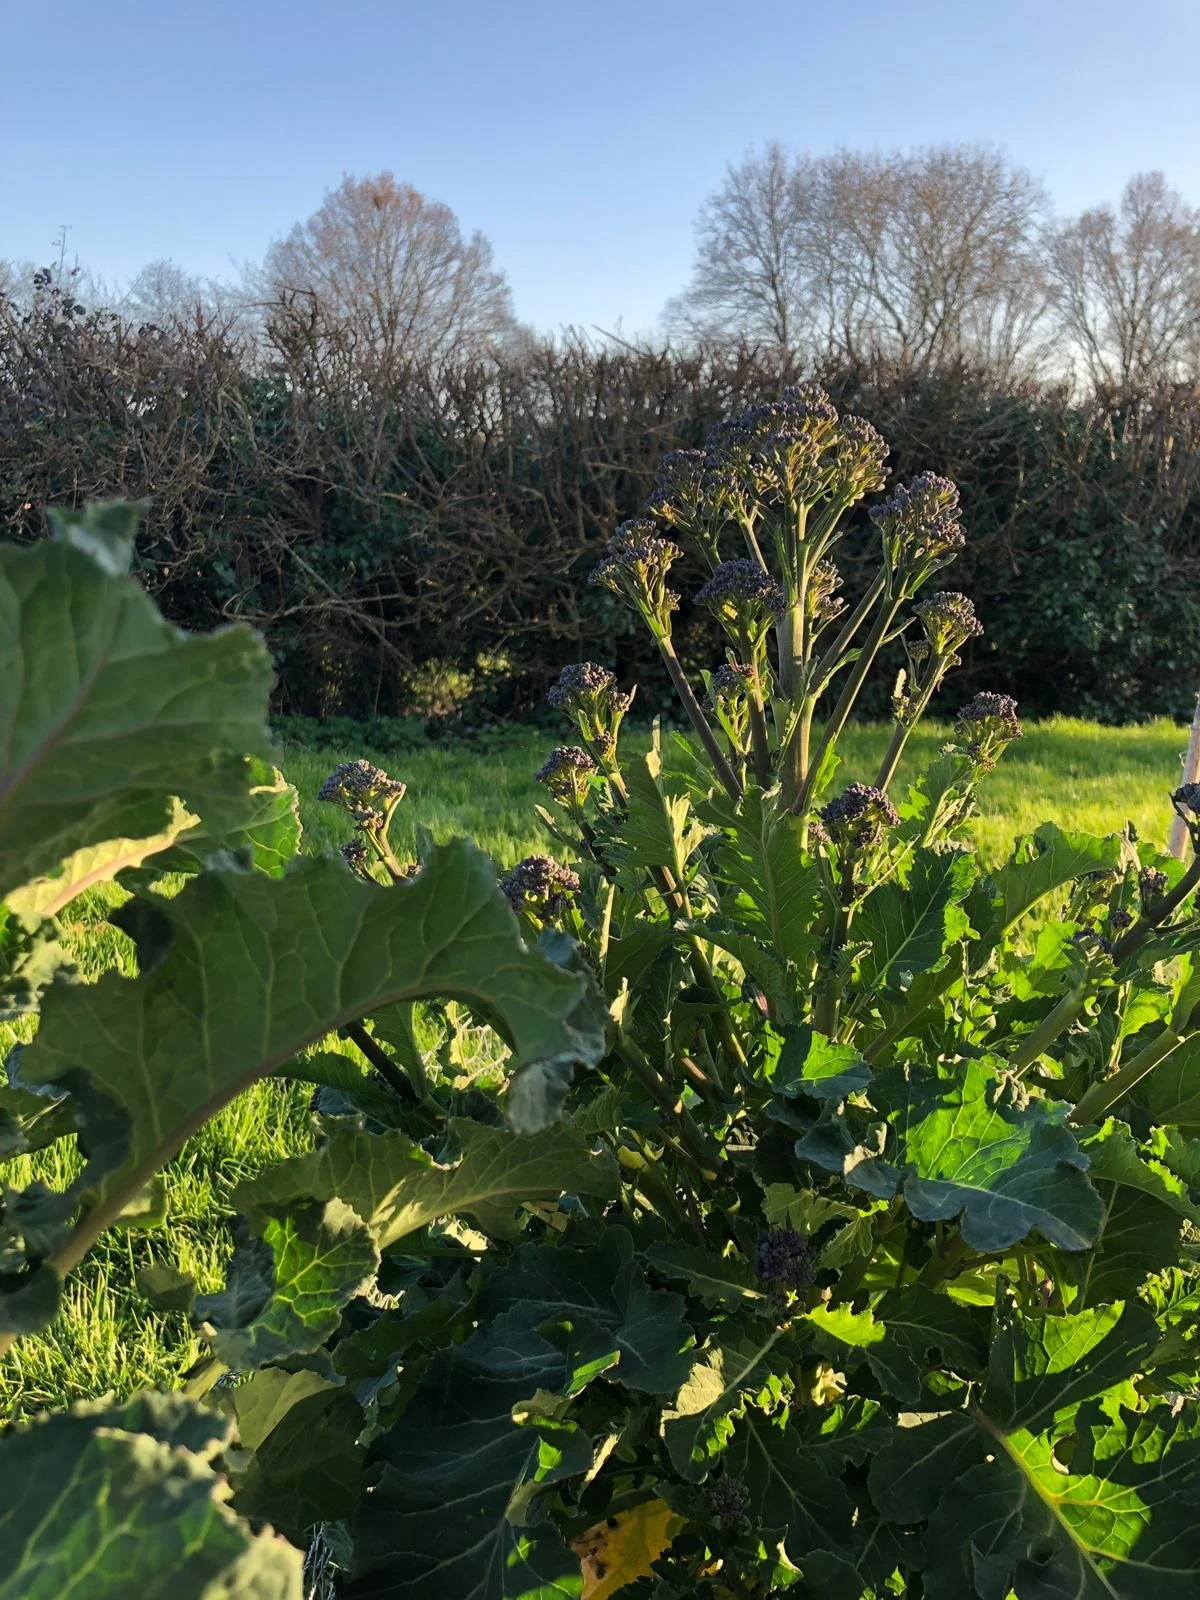
Lastly some good old curly kale. This is our tortoise Billy’s complete favourite, and mine!
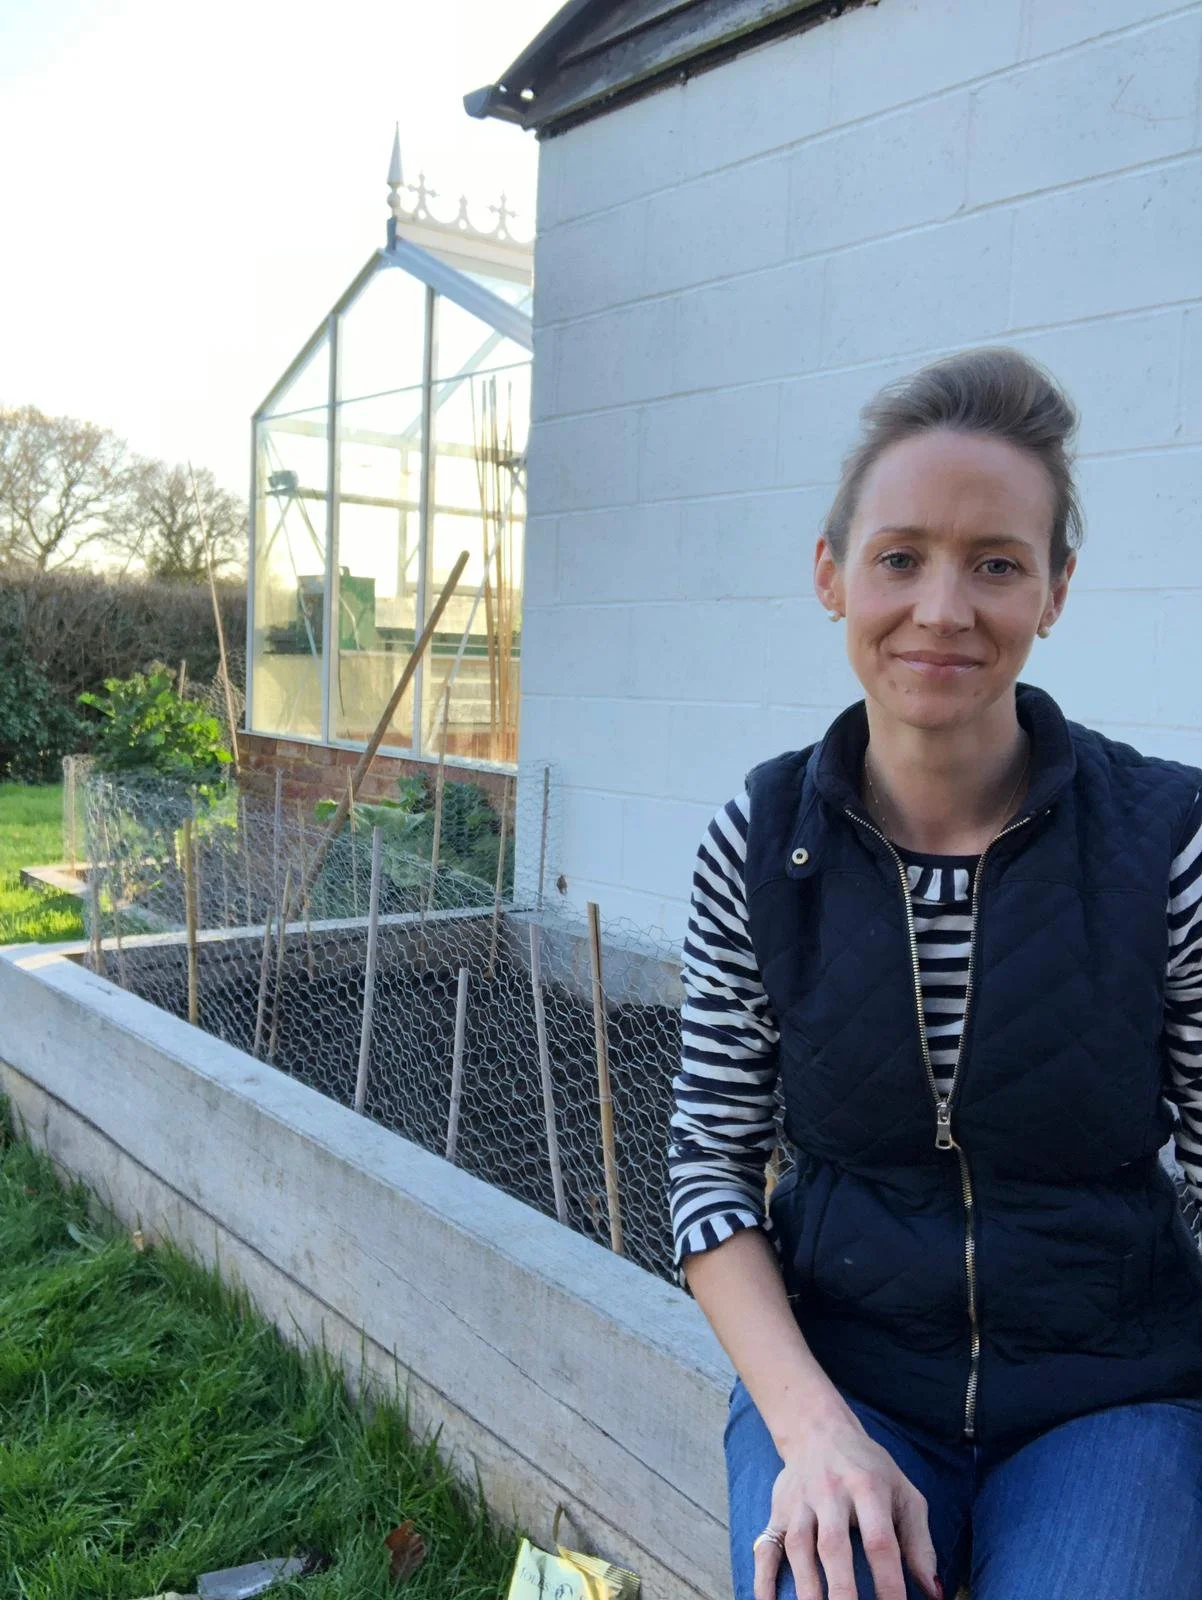
We had awful trouble with rabbits last year so we have had to put up chicken wire around the beds - it does make you feel a bit mean but it's so disheartening going outside to see your crop decimated!
Okay so we have our veg, some pre-prepared named labels, and we’re ready to go!
Start at one end of the bed and pop your label right at the front. I always like to tip the seeds into my hand first for the best control over the amount.
Make a little hole with your finger, not too far down (ideally about an inch in depth) then drop in a bean and cover over. For the next bean, leave about a 10cm gap and repeat the process until you get to the back of the bed.
Now for the little savoy cabbages - pop the tag at the front, make a little hole and in they go. Be careful that the roots are all covered, pack the soil around and push it down just a little bit. Leave a good space between them so they have room to grow.
It’s time for kale! Pour some of the kale seeds into your hand so you can control the amount, kale seeds are really tiny. Make a little trench along the soil with your finger, breaking up any lumps of soil you find as you go. Scatter the kale seeds in the trench and then brush the soil over. It’s so terribly simple!
Next up we have the Italian picking lettuce. This particular pack of seeds has another little packet inside, but please be mindful of packets that may not. You could be in for a little seed spill accident upon opening so do so slowly and gently! Make a trench and scatter, covering over gently afterward.
Now for the carrots. I start with the ones that I have grown in my greenhouse. Simply make a hole with your finger, quite a deep one if the roots are quite long, drop in and put the soil around gently pressing down slightly.
I've actually changed the bed I use for the carrots this year as last year they were planted within one with harder ground below and all came out in funny shapes!
Now for the experimental row of carrot seeds alongside, let’s see what happens! Again, carefully tip into you hand, create a trench and sprinkle relatively evenly. Cover over and look forward to the race!
Give everything a good water once you’re done, step back and admire your handiwork.
Hopefully I get a really good harvest from this little lot, obviously I shall keep you posted! I do hope this encourages you to get planting - it’s such fun. If you don’t have a lot of space remember you can use pots or tubs too!
Love,