
Easter Crafting Fun! How to blow out egg shells before decorating as keepsakes...
I'm so utterly thrilled to be able to get outside in this stunning weather and plant some vegetables!
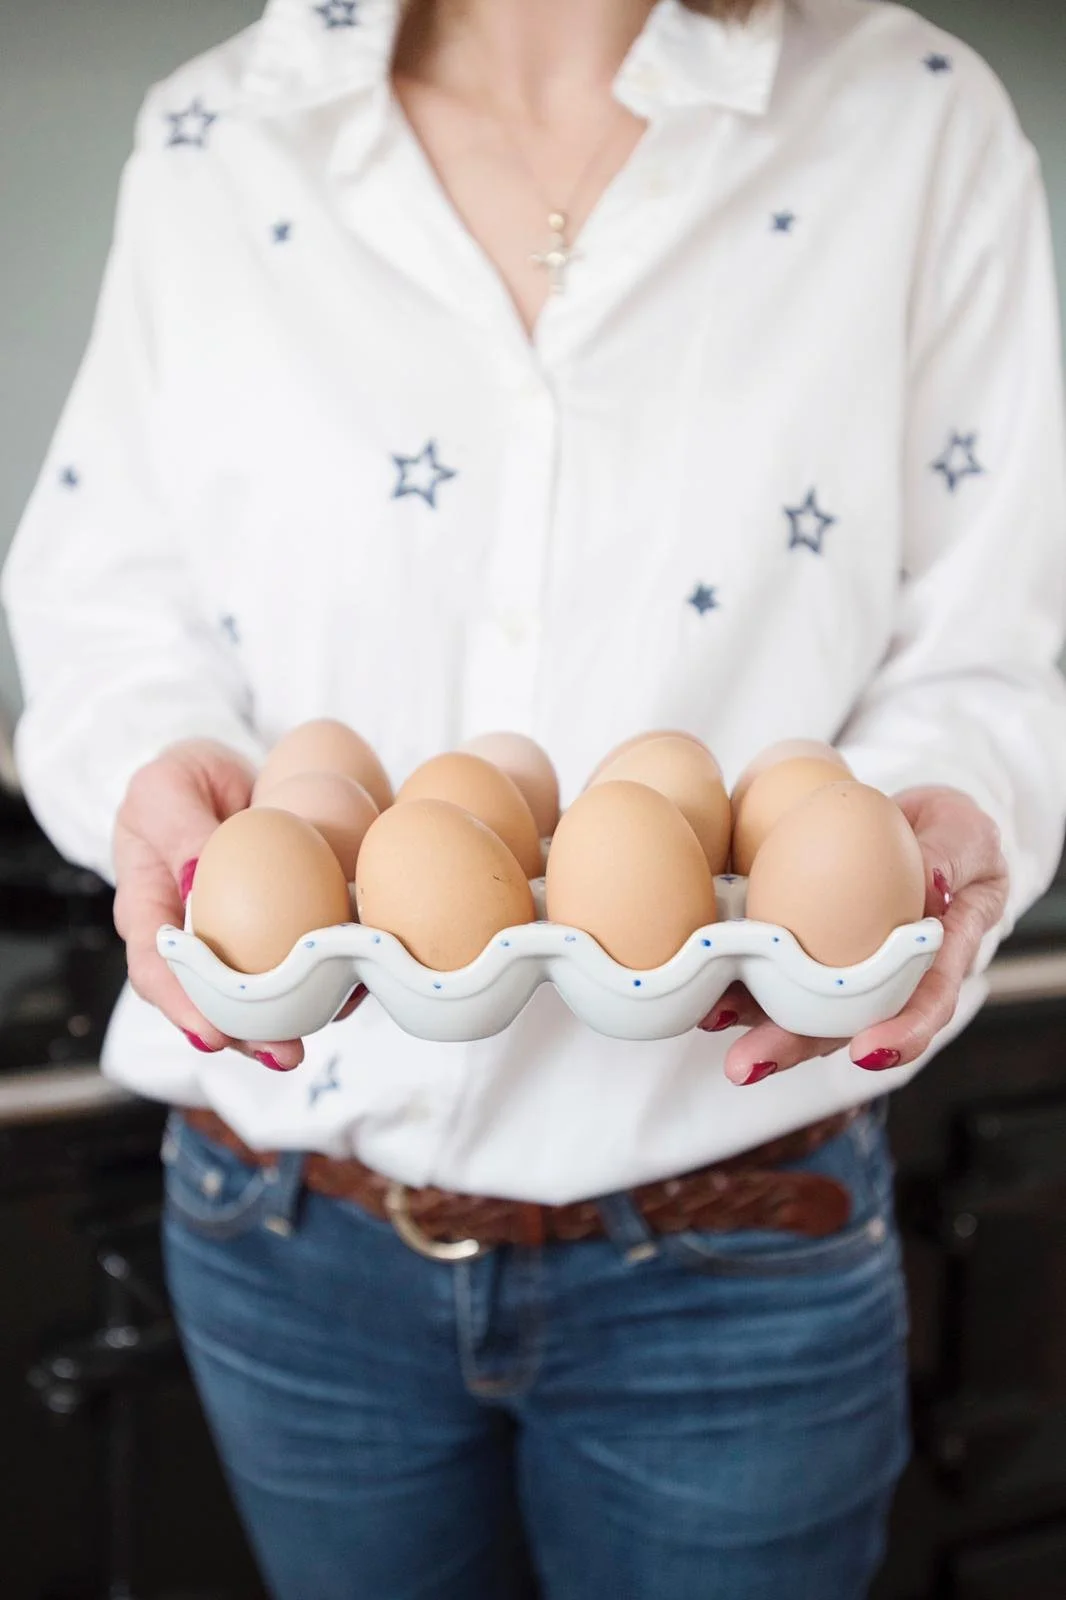
Blowing the contents from the eggs means that they don’t go bad and can last a long time as long as you are careful! So they make the most wonderful little decorative keepsakes.

It’s so easy and simple to do, let’s get stuck in.
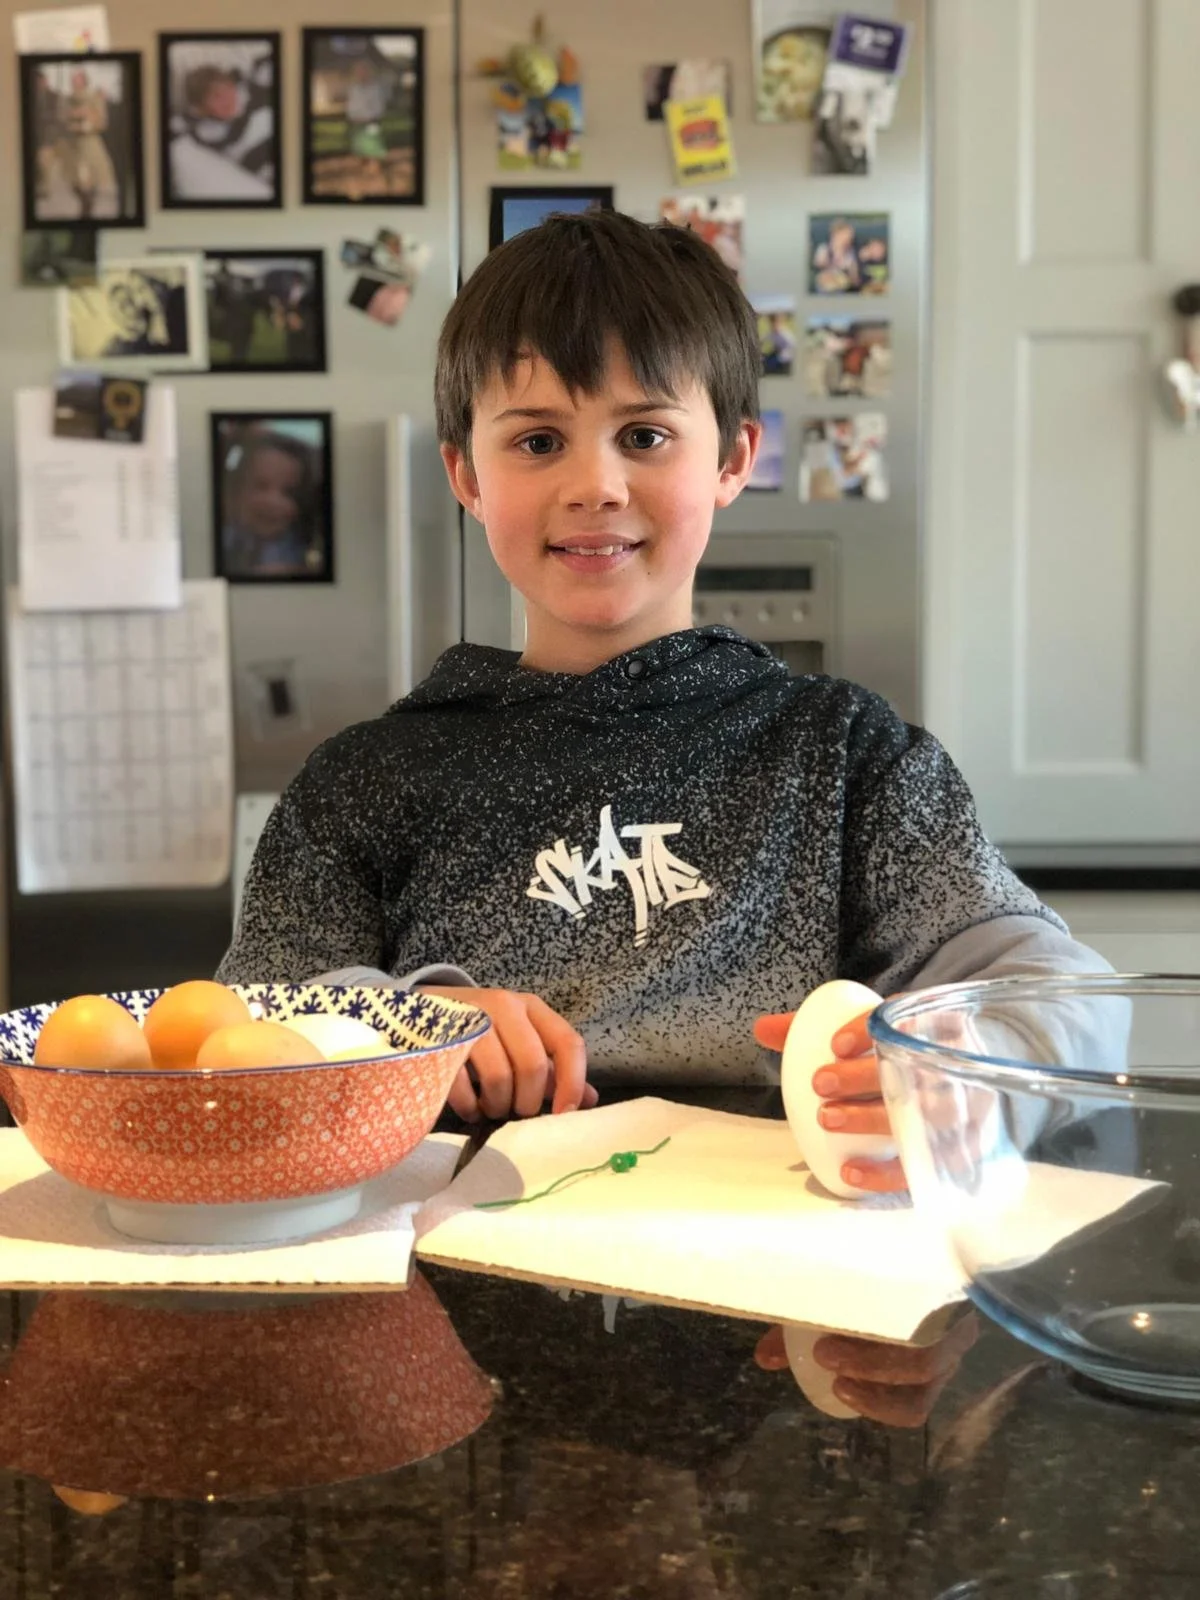
You will need:
A pin - Thumb pins are much easier to use for this as they are gentler on your fingers!
A paperclip - straightened
Needle just in case
Cardboard straw - chopped
Bowl
Kitchen paper for any spills
Method:
Holding the egg firmly, pierce with the pin right at the top.
Once pierced, turn the pin a few times to widen a hole a touch.
Flip the egg quickly to the other slightly larger end and repeat. Give this one a good wiggle to make this hole at the bottom slightly bigger than the hole at the top.
Take your straightened paperclip and use it to break the contents of the egg up inside so it’s effectively scrambled - otherwise you cannot blow the yolk out.
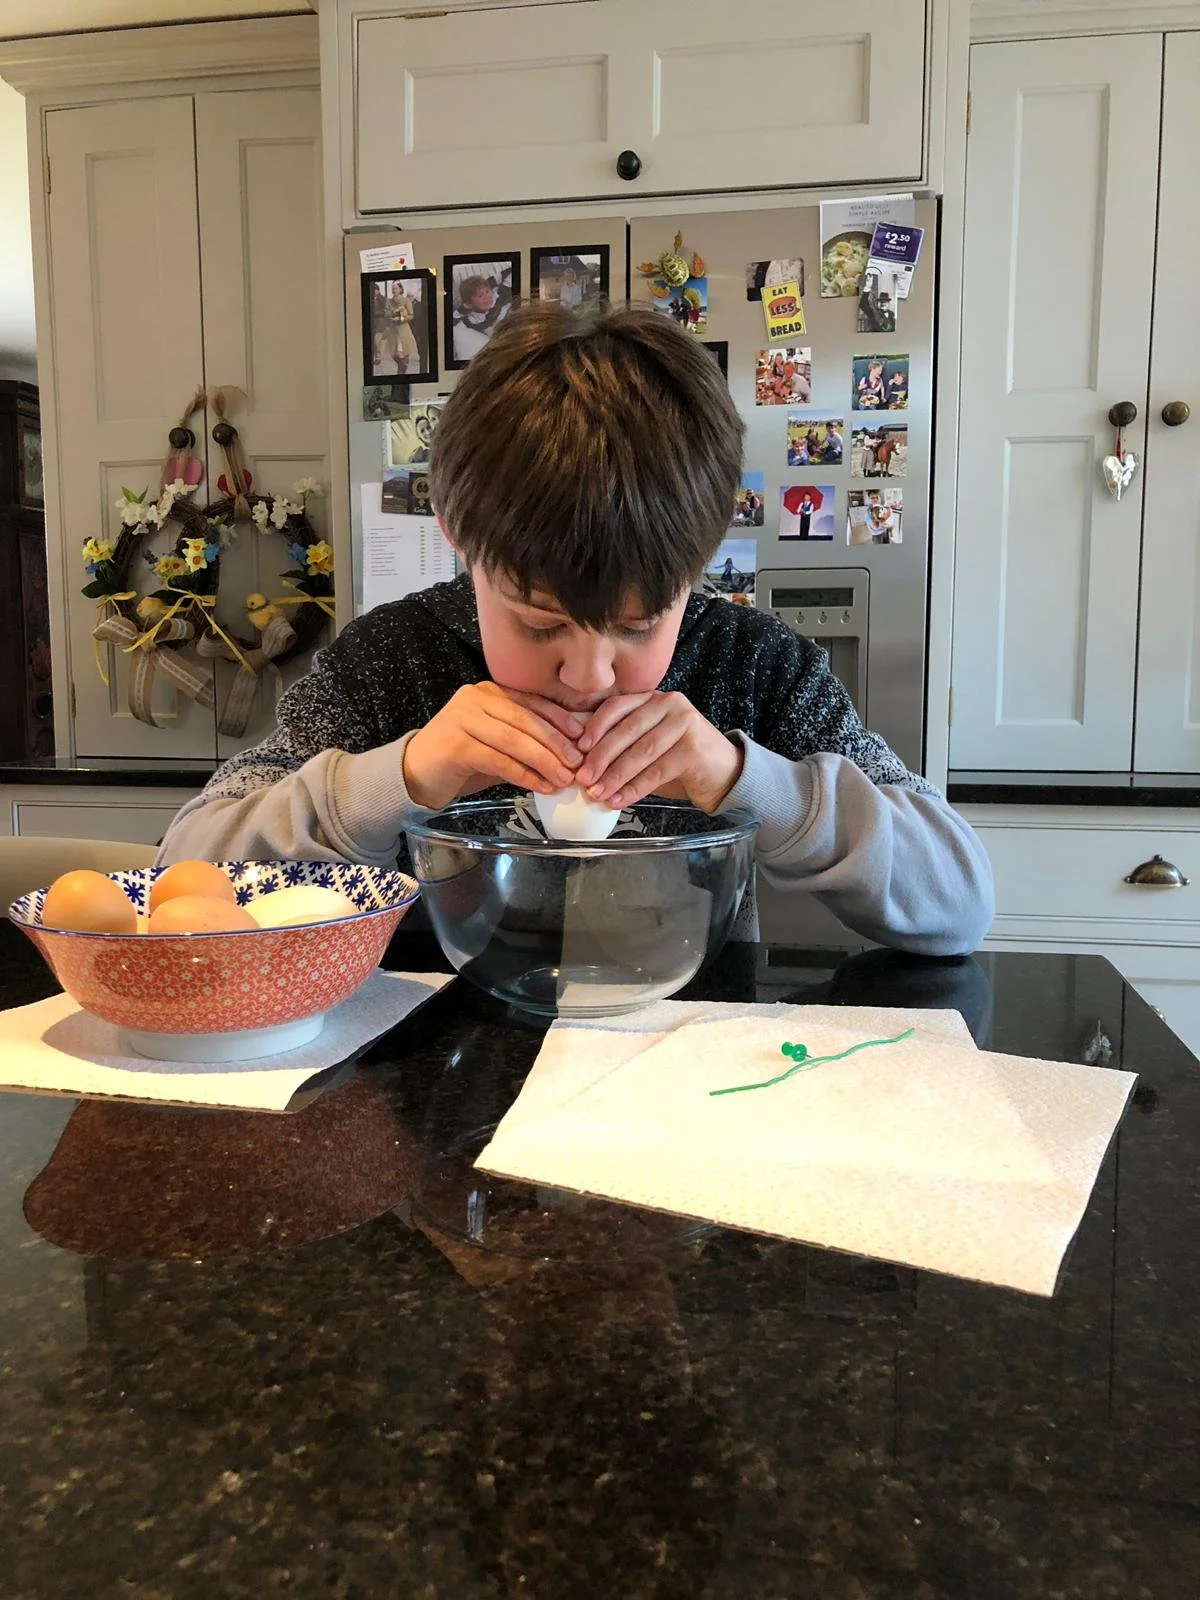
Pop your finger and thumb over the holes and give the egg a good shake.
Now you can either use a straw over the hole and blow into the bowl, or simply place your mouth over the top hole and blow through without. The egg will start to run out of the bottom!
Once your shell is clear of its contents, give it a little wipe over with a piece of kitchen paper.
Next up we’re going to give them a little wash, before popping them into an oven tray and into the oven to sterilise the inside so there’s no chance of odours a little further down the line.
Fill up your bowl with warm water and a little detergent and pop in your egg. Let it fit up slowly with some of the soapy water, then give it a shake to really give it a good clean.
Empty out the water, place onto a waiting baking tray and pop them into the oven to sterilise. I used the baking oven of my Aga (around 160 degrees) for roughly 10 minutes.
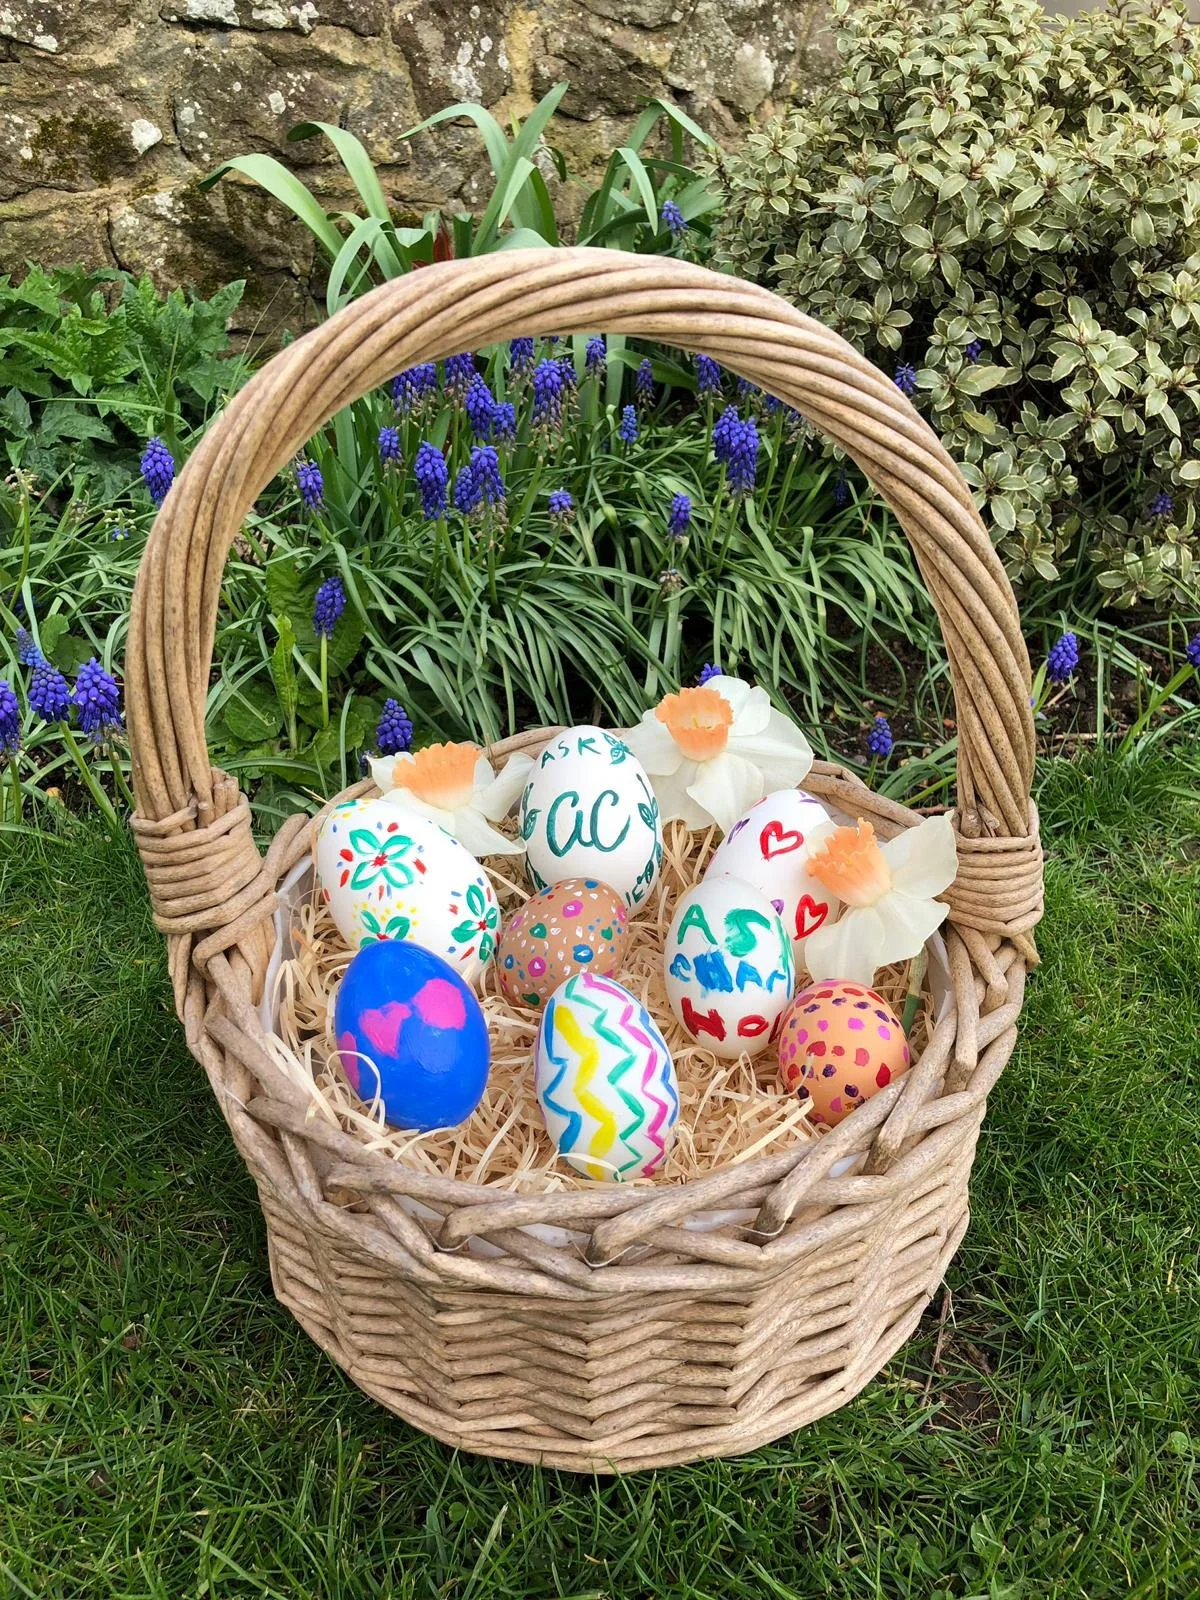
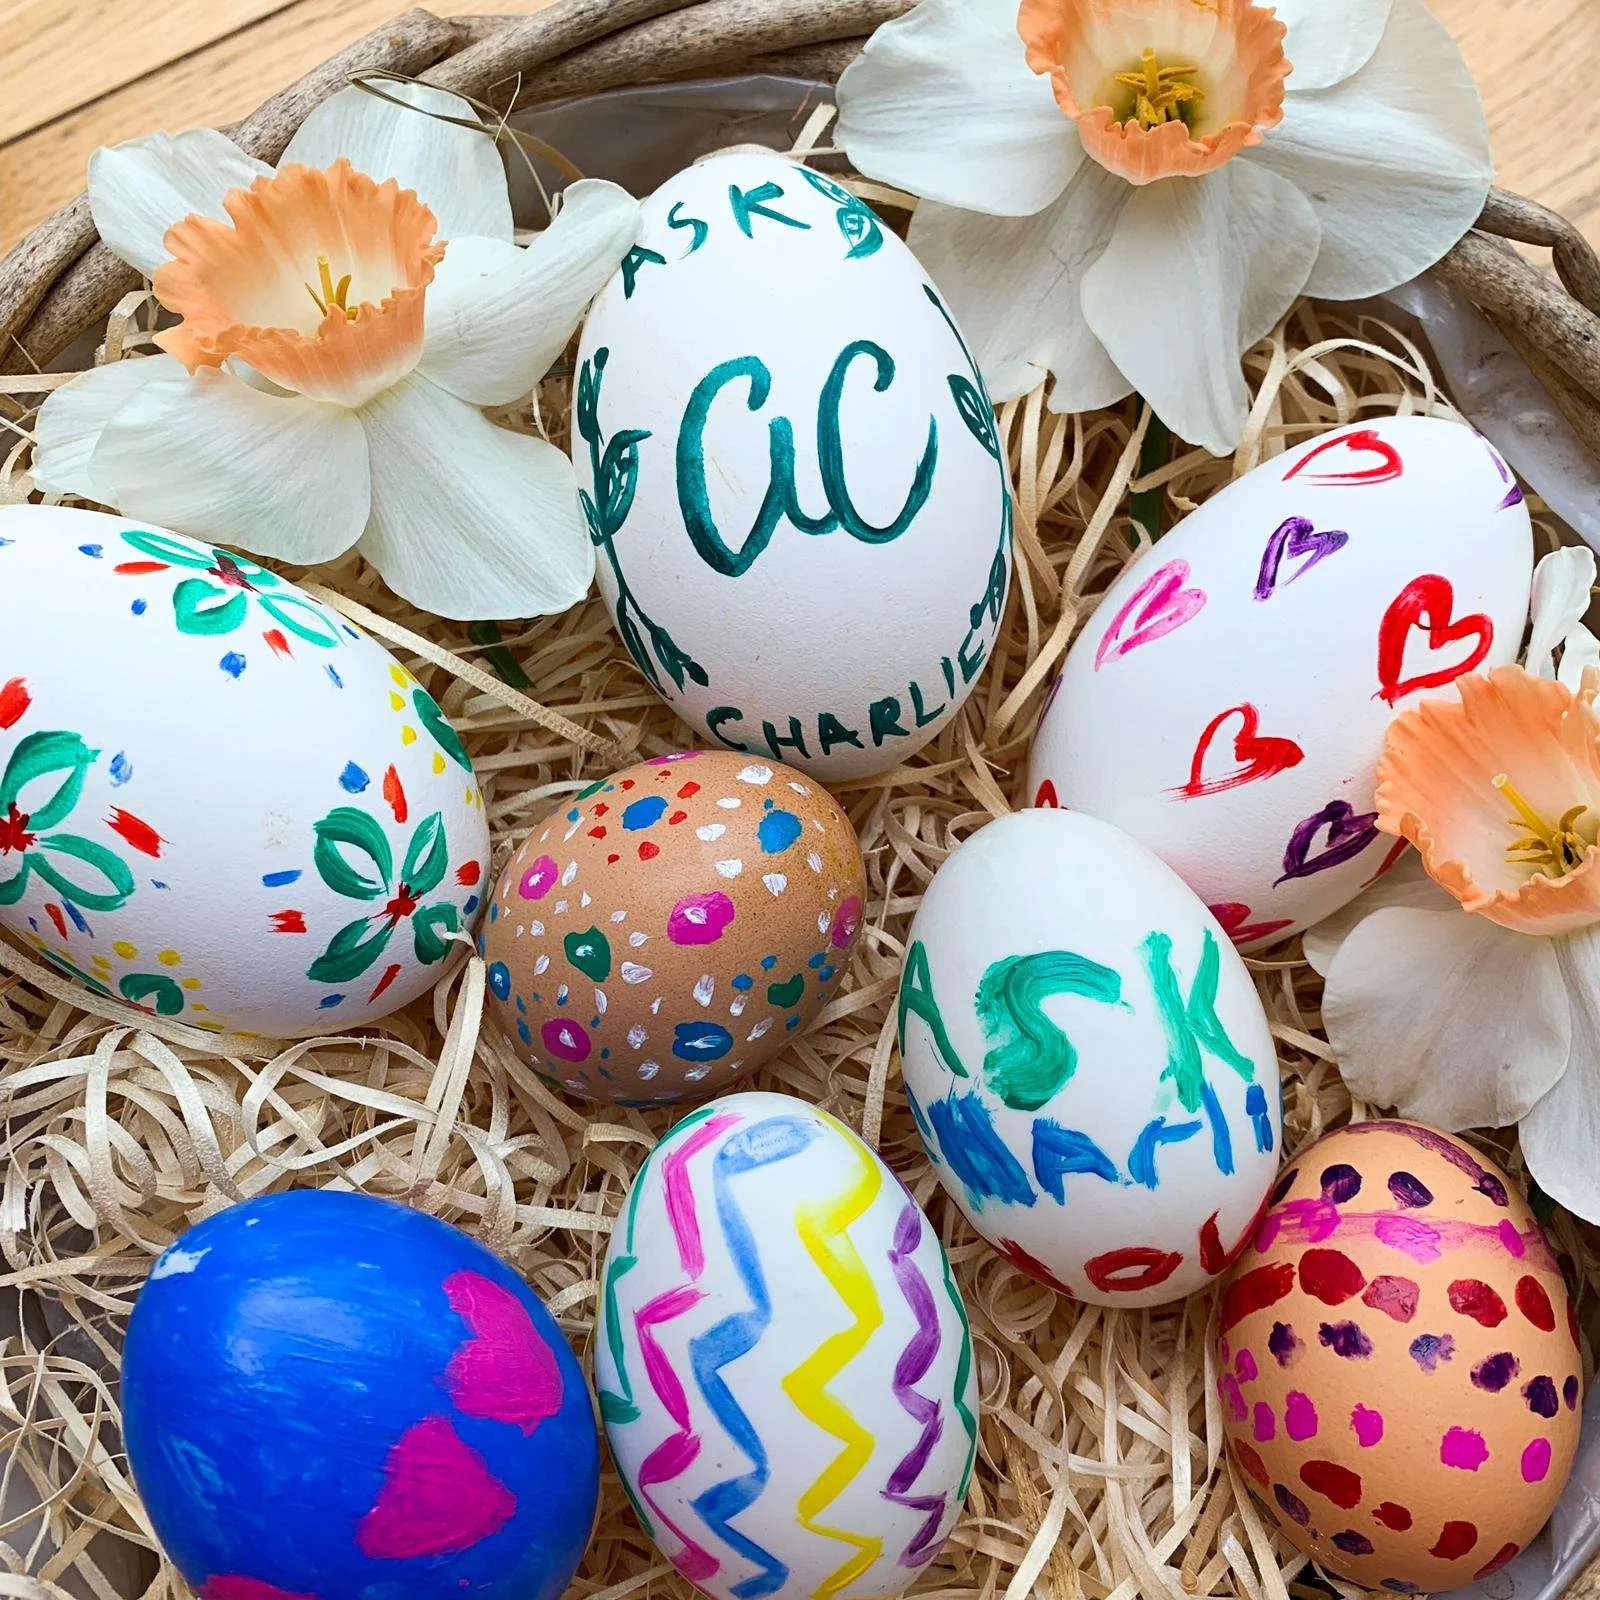
And there we are! Your eggs are all empty, clean and sterilisedready for decorating fun with the family this Easter!
I hope you enjoy!
Love,