
The best way to iron your shirts for a perfectly crisp result...
My darling husband wears at least one shirt a day - if he is heading out in the evening he'll change again!
I'm going to show you exactly how I iron his shirts to get them looking ship shape and ready to pop on whenever needed.
First and foremost, check the label on your shirt to determine the fabric. Cotton or cotton-blend shirts can be ironed using higher heat, a shirt with polyester or spandex can be a little more delicate.
Set the iron on the appropriate heat setting for your material.
Lay your shirt on the ironing board, collar down. Give the collar a good iron until it is completely flat.
Now move onto your sleeves. Lay them button up, making sure that they are nice and flat. It's so helpful to get everything into position before you begin to iron.
Follow the seam when you are positioning the sleeves, to ensure the crease will look crisp and smart when worn.
Iron from the lower end of the seam right up to the shoulder seam.
Repeat with the other sleeve.
Next, pop the top of the shirt onto the end of the board and iron the shoulder areas.
Now we can start on the front!

I like to start with the buttons first. Carefully go in between them, to make sure that the area is nice and flat and crease-free.
Once you've completed the button area, start to move the shirt around the ironing board, ironing as you go. Do make sure that as you move the shirt, everything is kept nice and flat. If you iron in a crease, they are much harder to get out!
There is often a vent in the middle of the back, so do give this a good iron to ensure it is nice and flat too.
Soon enough you'll be right round to the front of the shirt again, where you can start to iron over the buttonholes.
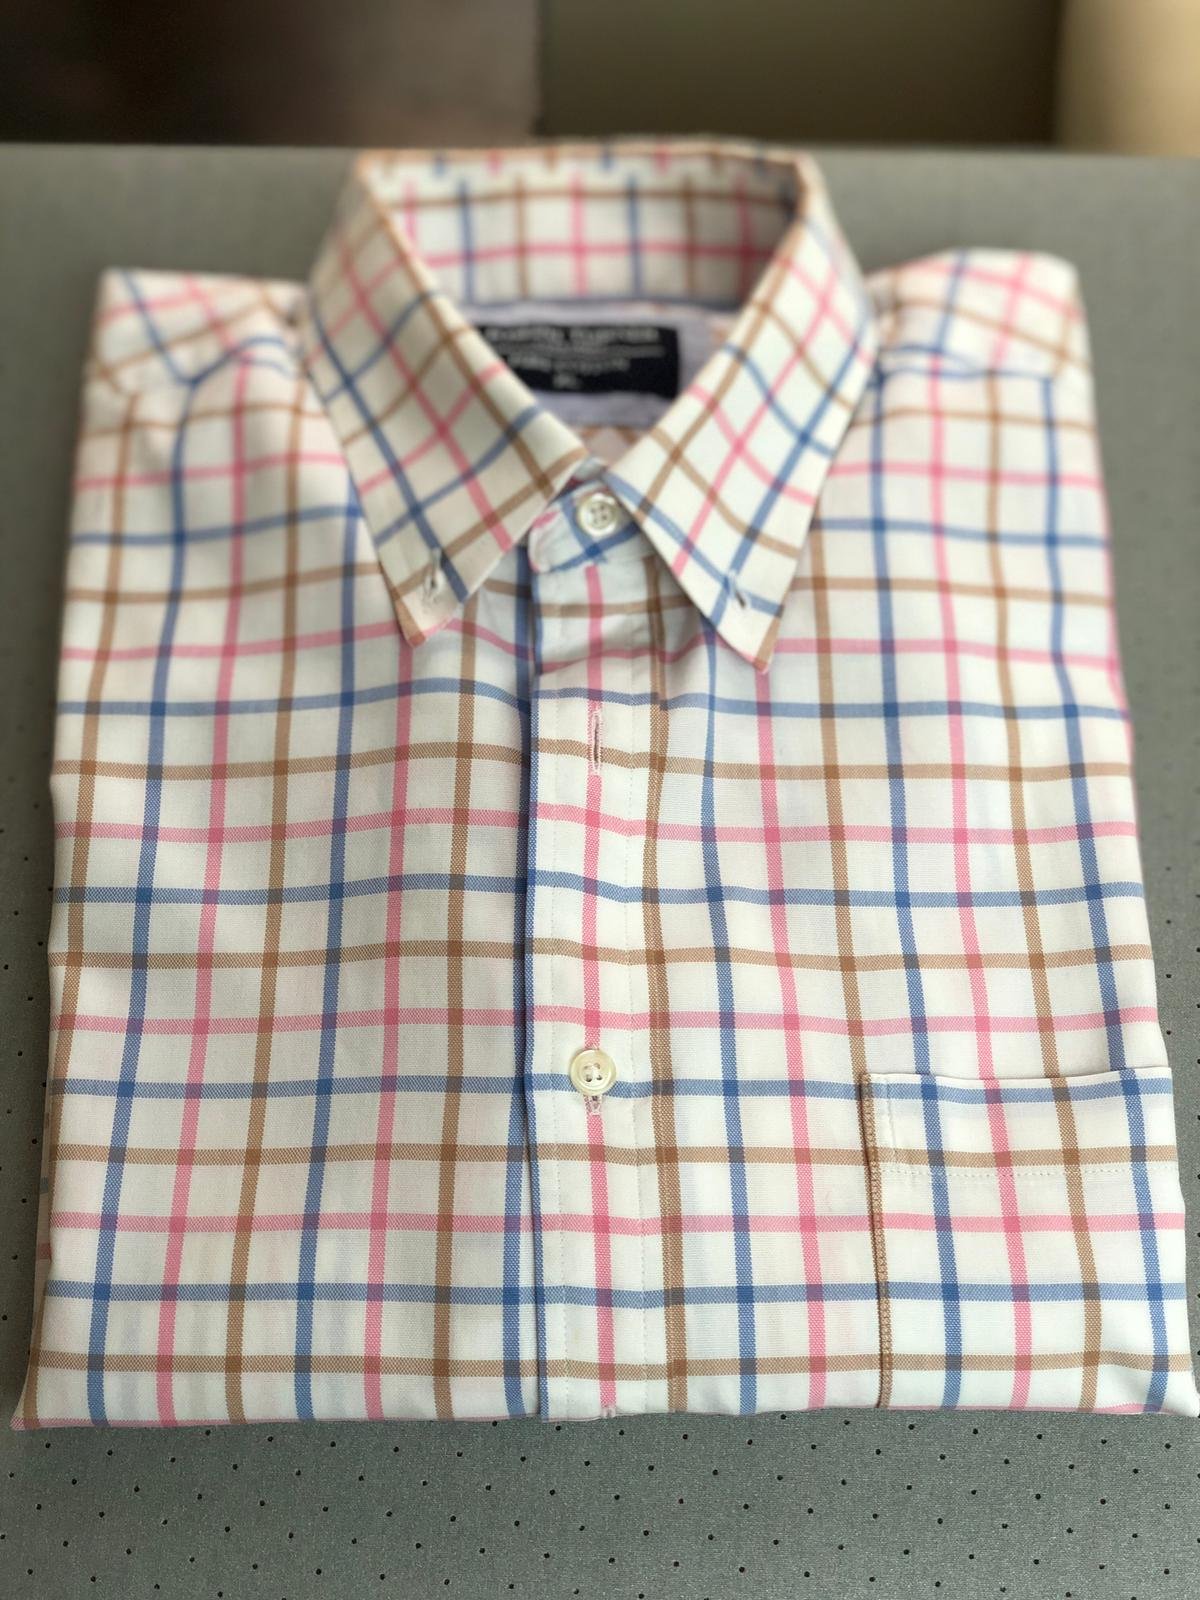
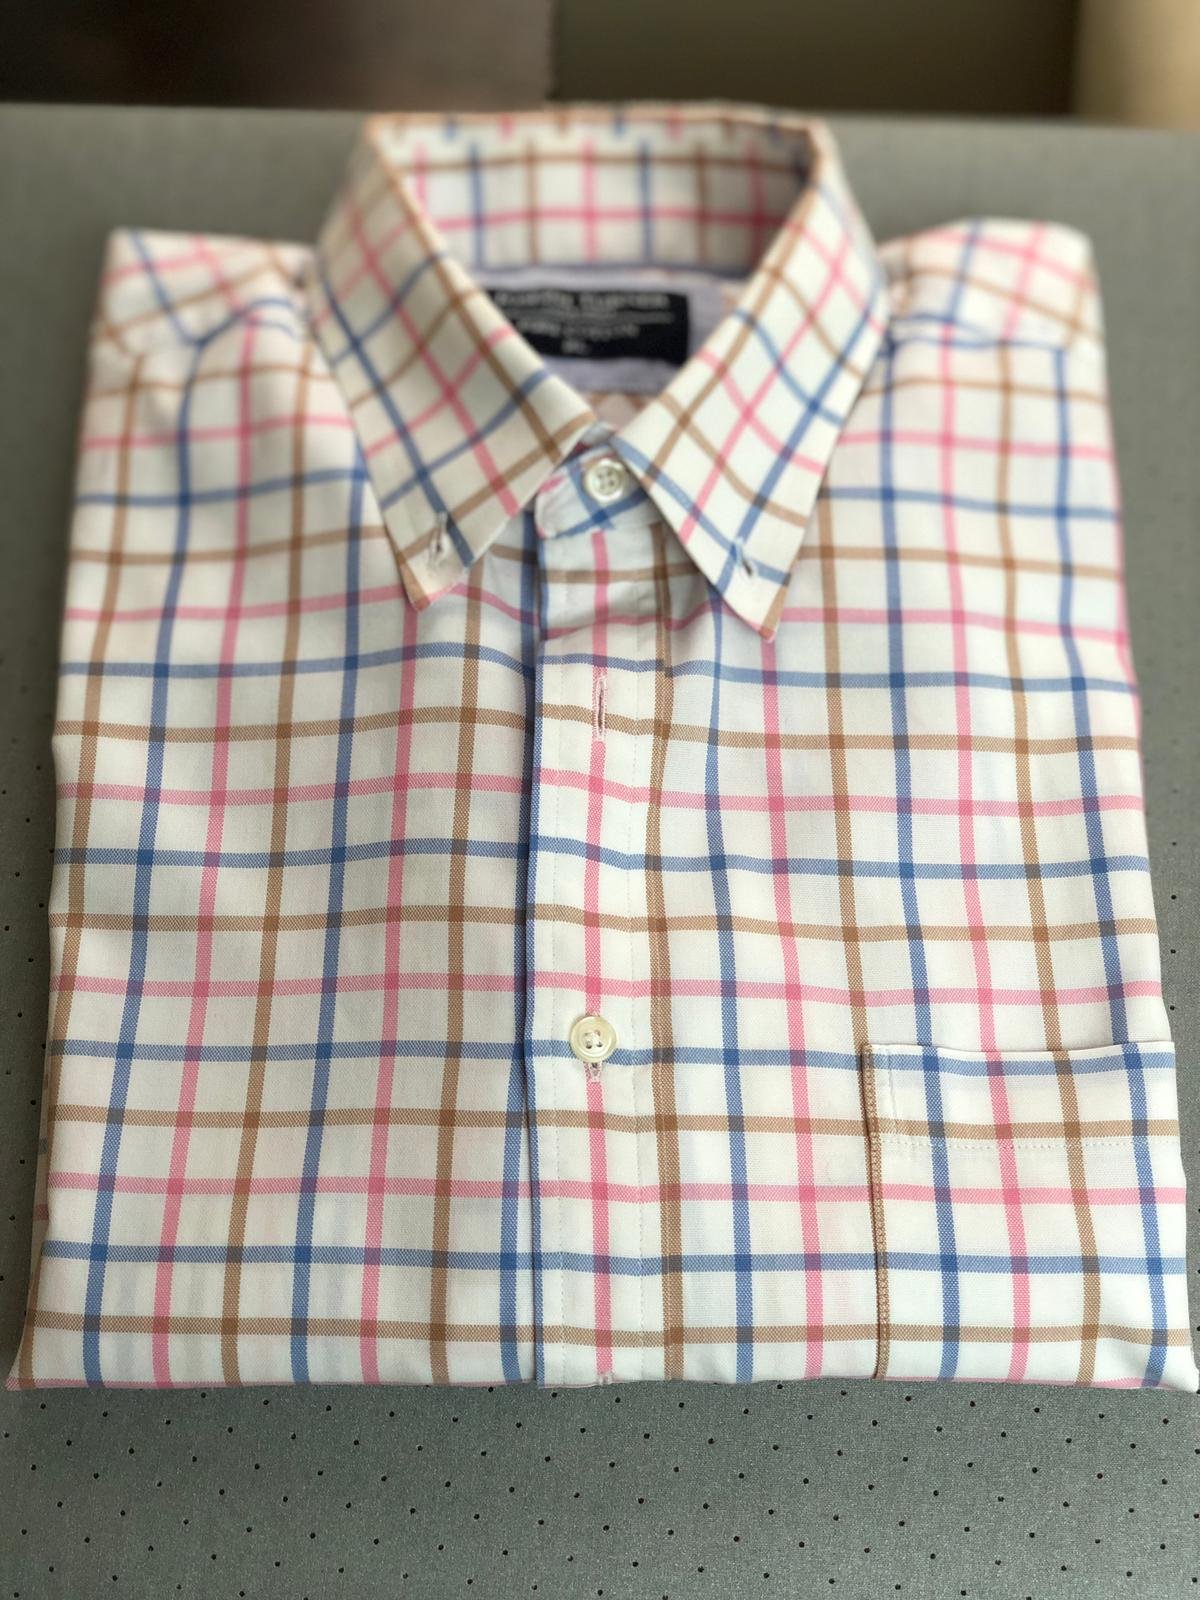
And you're done! Now, you can either pop it onto a hanger or into a drawer. When folding, I like to do the top button up, then every other button down the front. This saves time and keeps the shape.
Pop it face down onto the ironing board, nice and flat. Turn one side in and fold the arm downwards, same on the other side. Next, fold the cuffs up from the bottom, then the whole shirt in half to produce the perfect fold that keeps it looking great even once put away!
Special thank you to Ralph Lauren for teaching me how to fold during my very first job in my teenage years!
Love,