
Quick, easy and delicious! It's the perfect time of year to make and enjoy some homemade quince jelly!
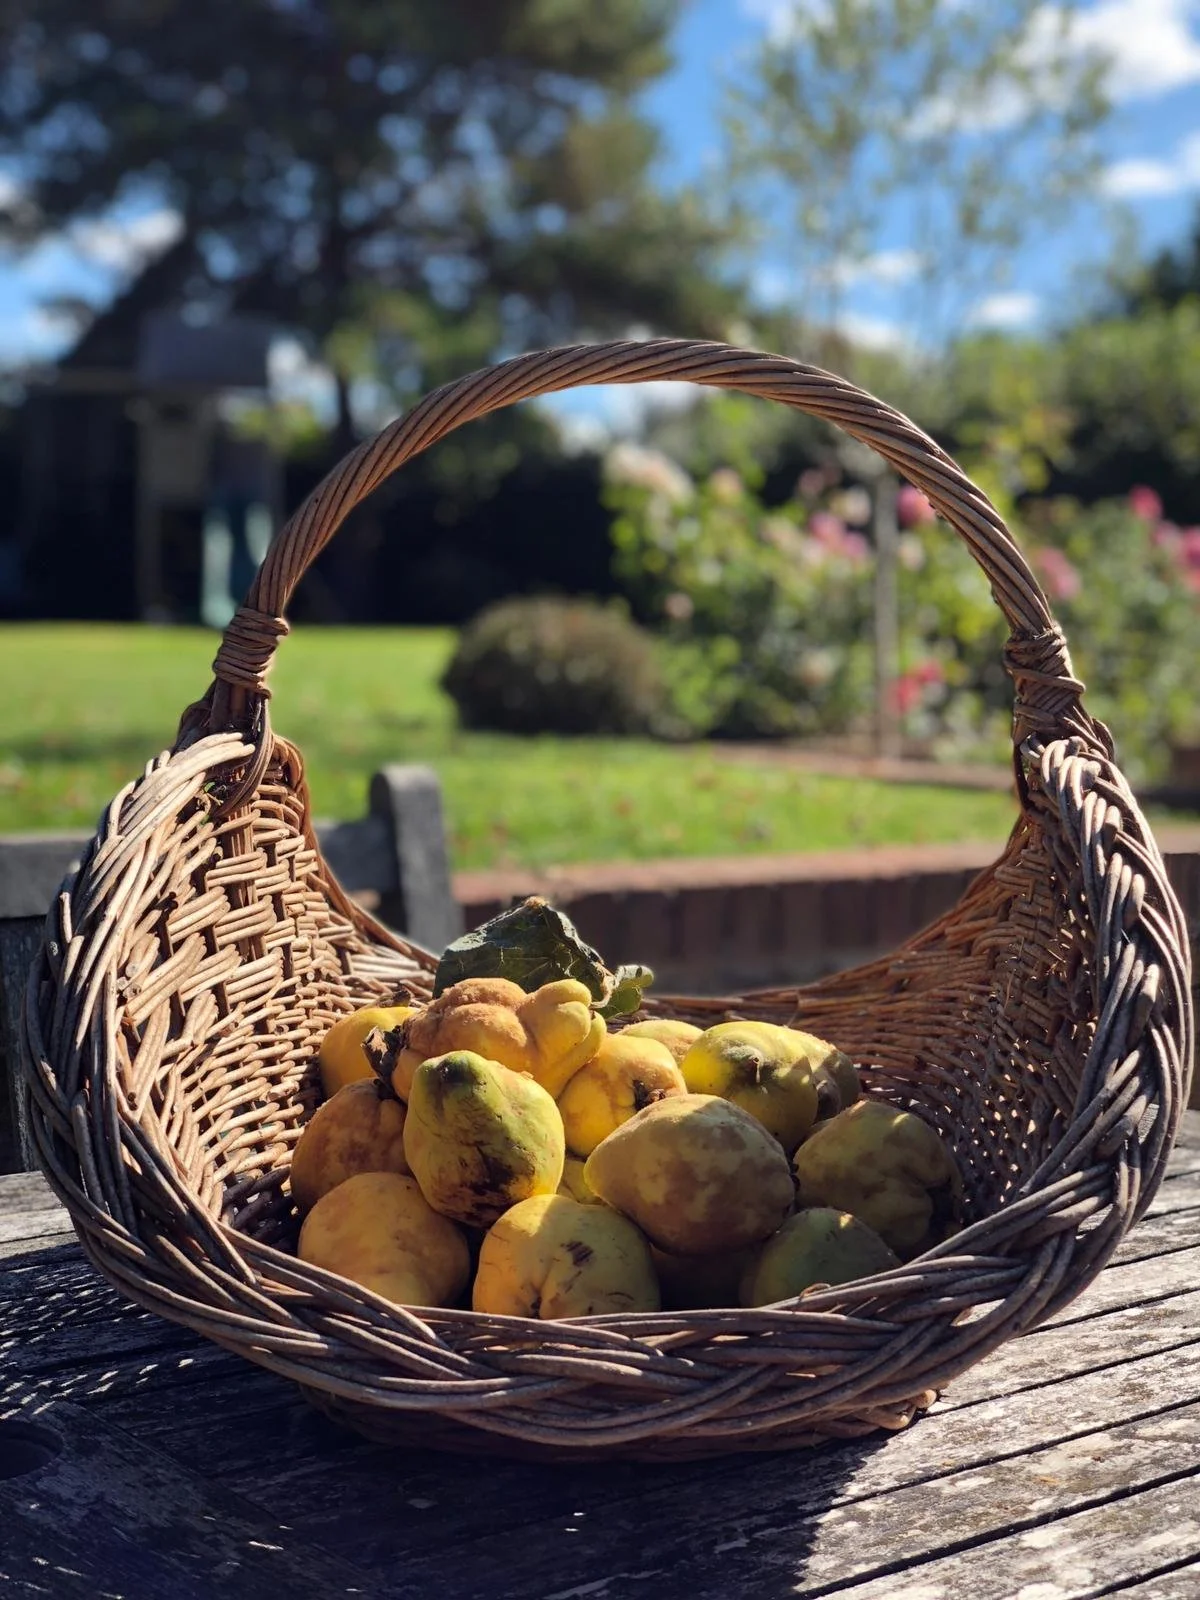
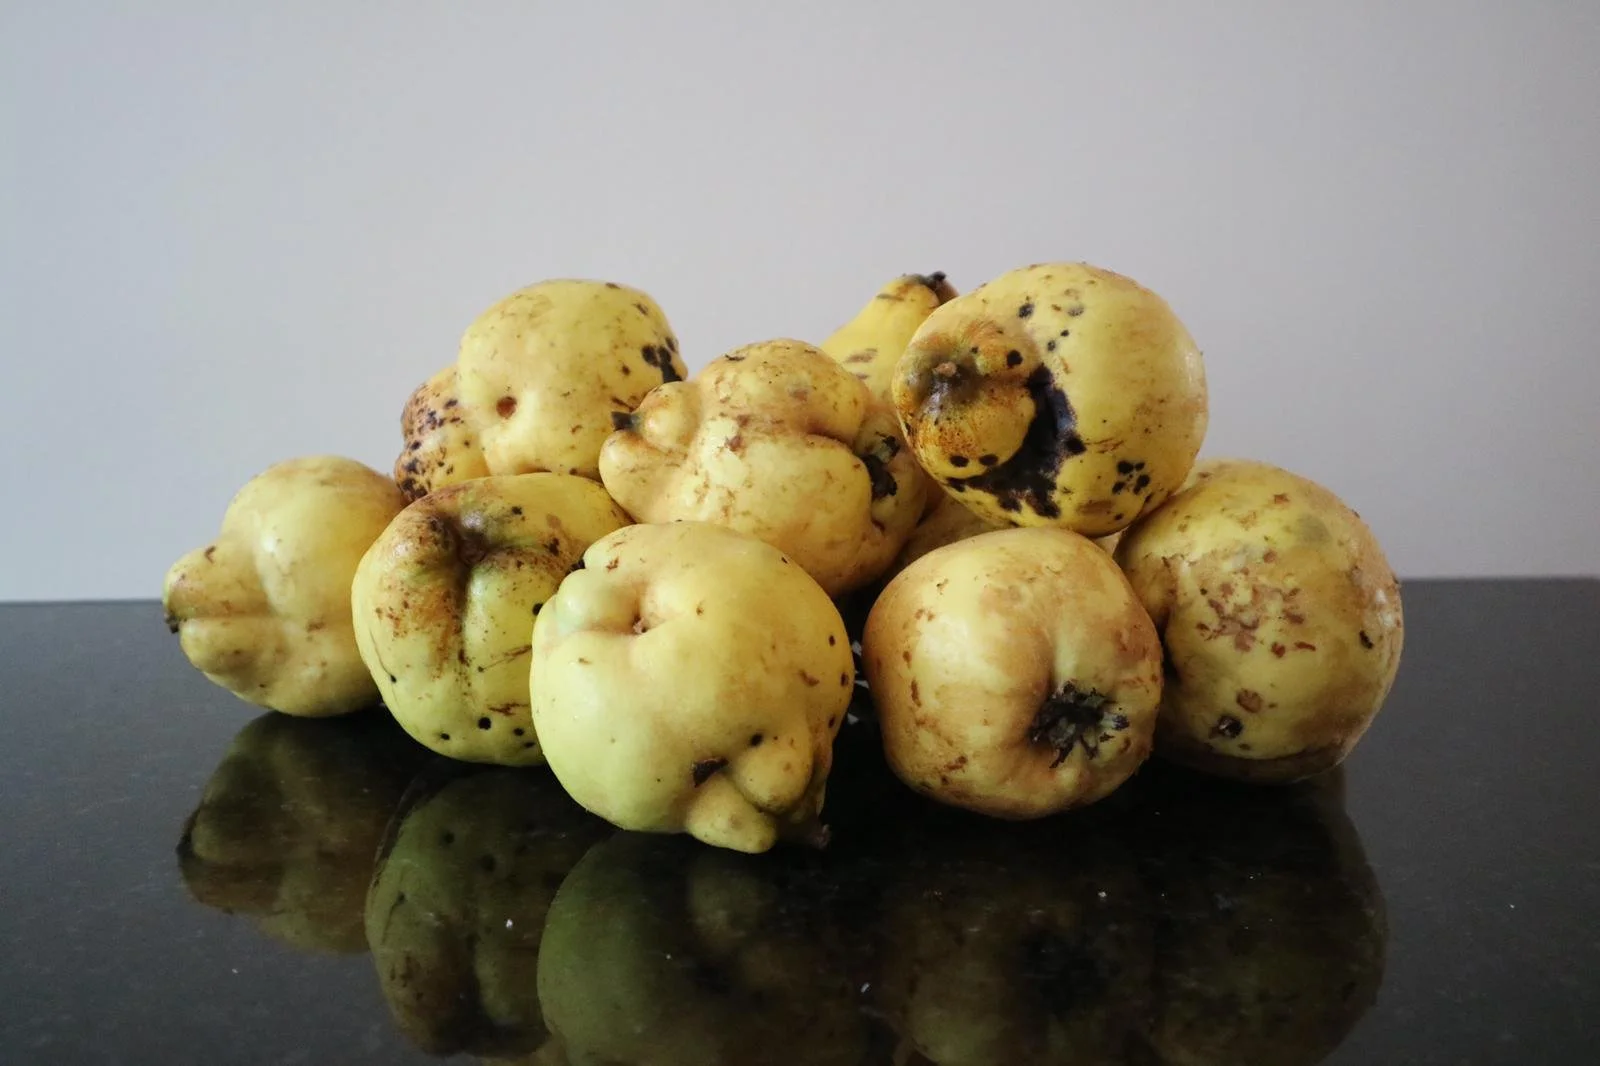
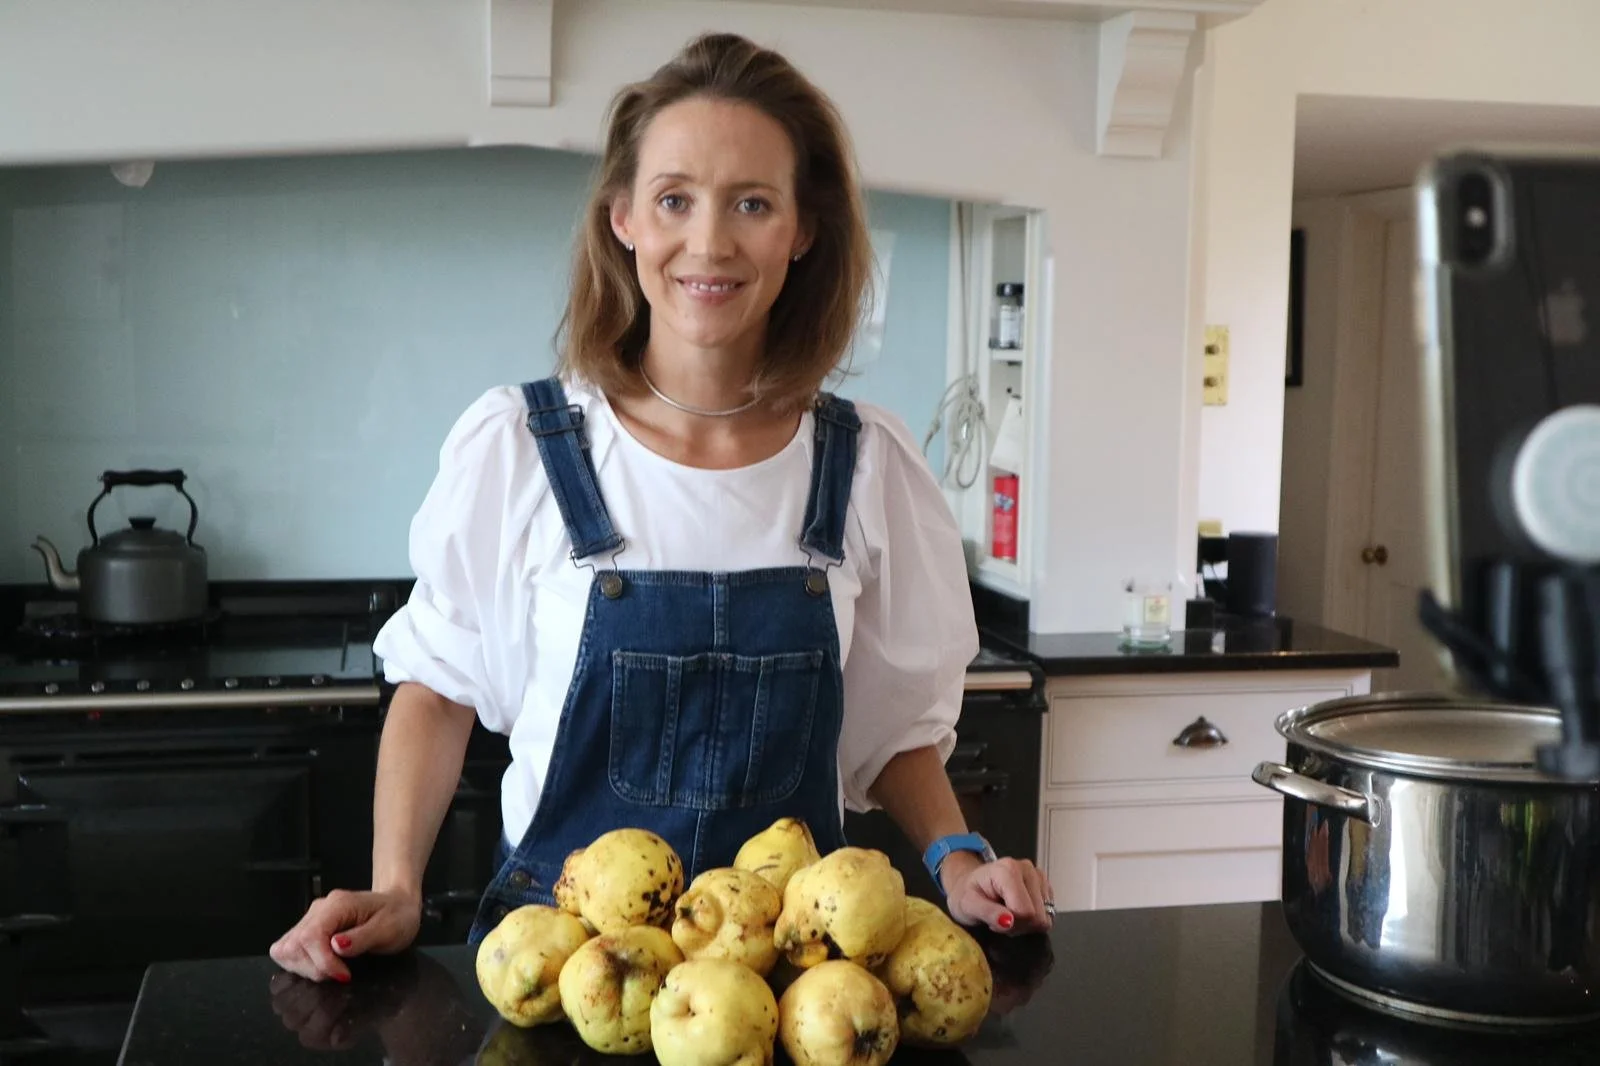
Quince jelly is one of the ugliest fruits but makes the most delicious jelly! It’s simple and easy, the hardest part is chopping it all up!
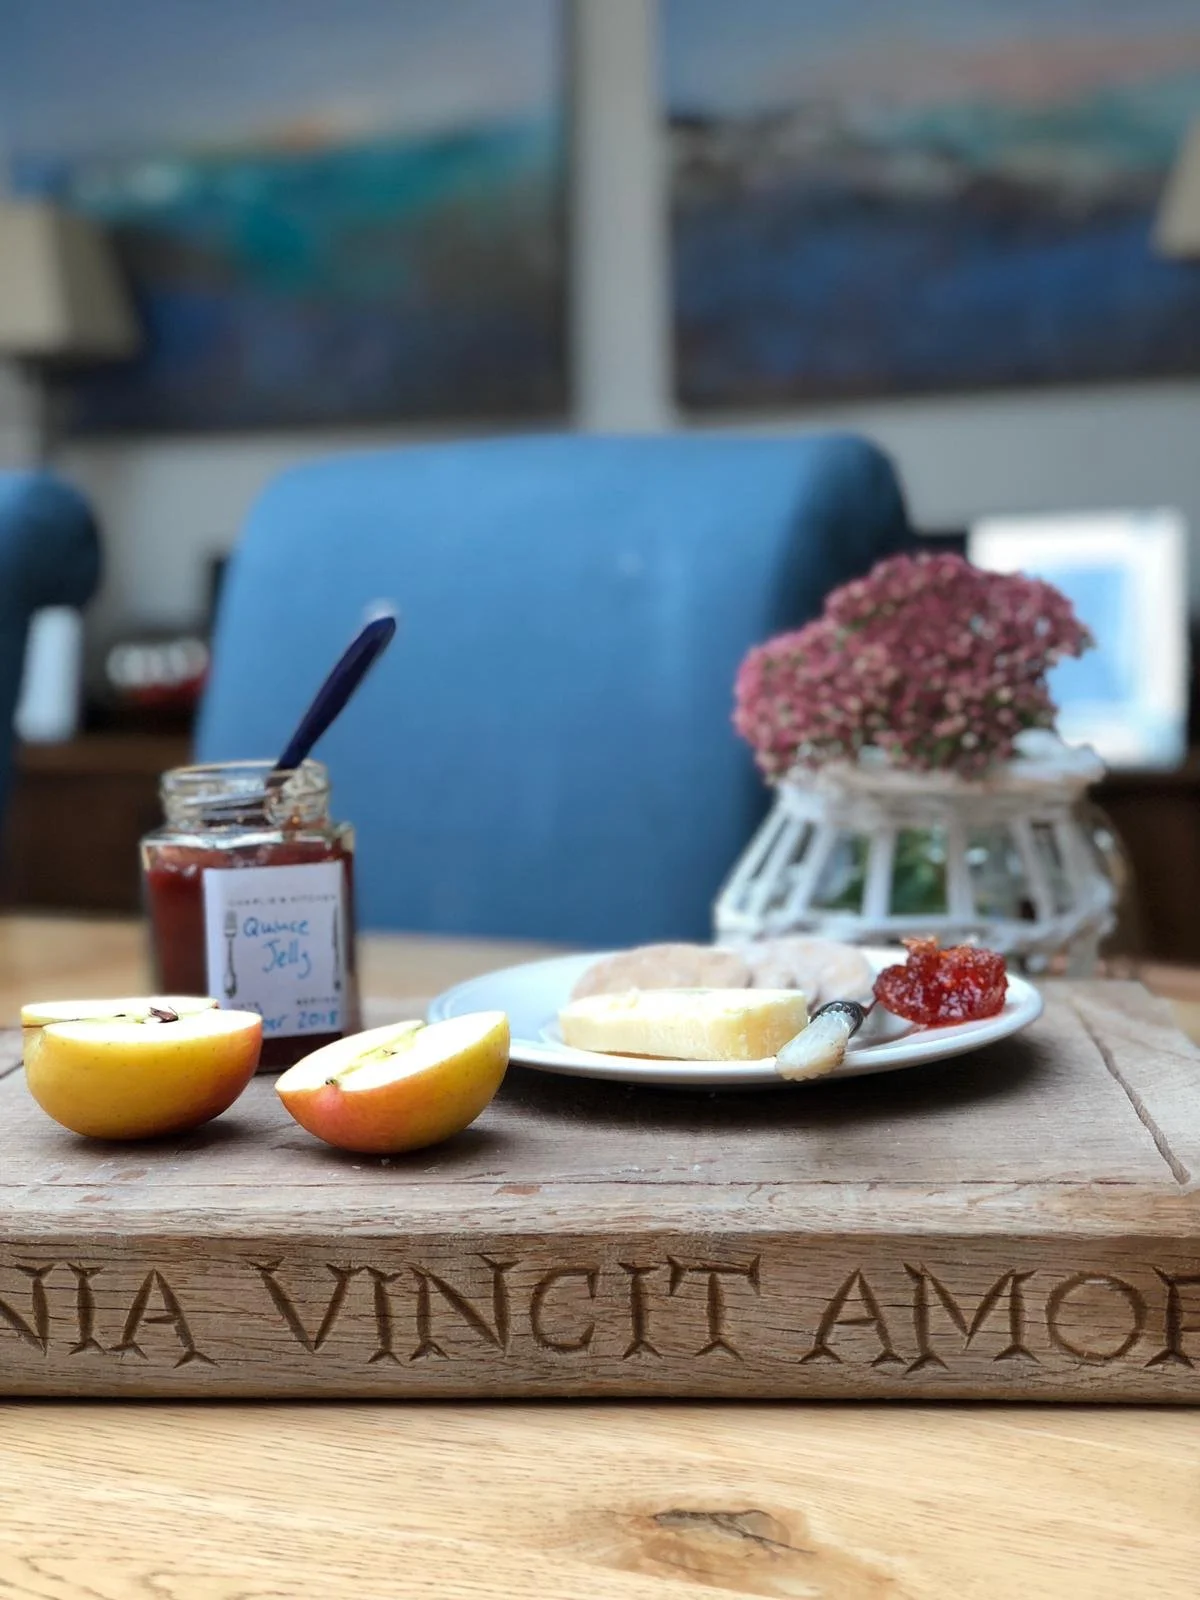
It works really well with cheese and meat, and I like to use it to make lovely canapés.
Now is the time of year to be doing it, towards the end of September and beginning of October when they are ripe and ready to pick, so get foraging!
They do have quite a tough core, but you don’t need to peel them, core them or even remove any of the manky bits.
You will need:
Quince - the more the merrier!
Caster or granulated sugar - the amount of quince ‘juice’ you are left with after cooking and straining determines the amount of sugar you will need, but as a guide in this tutorial when left with just over a pint and quarter of the juice, I needed 600g of sugar. It's generally 500g of sugar per pint of juice.
Water
Preserve pan/large pan
Jam strainers
Jam jars - sterilised
Wax discs
Method:
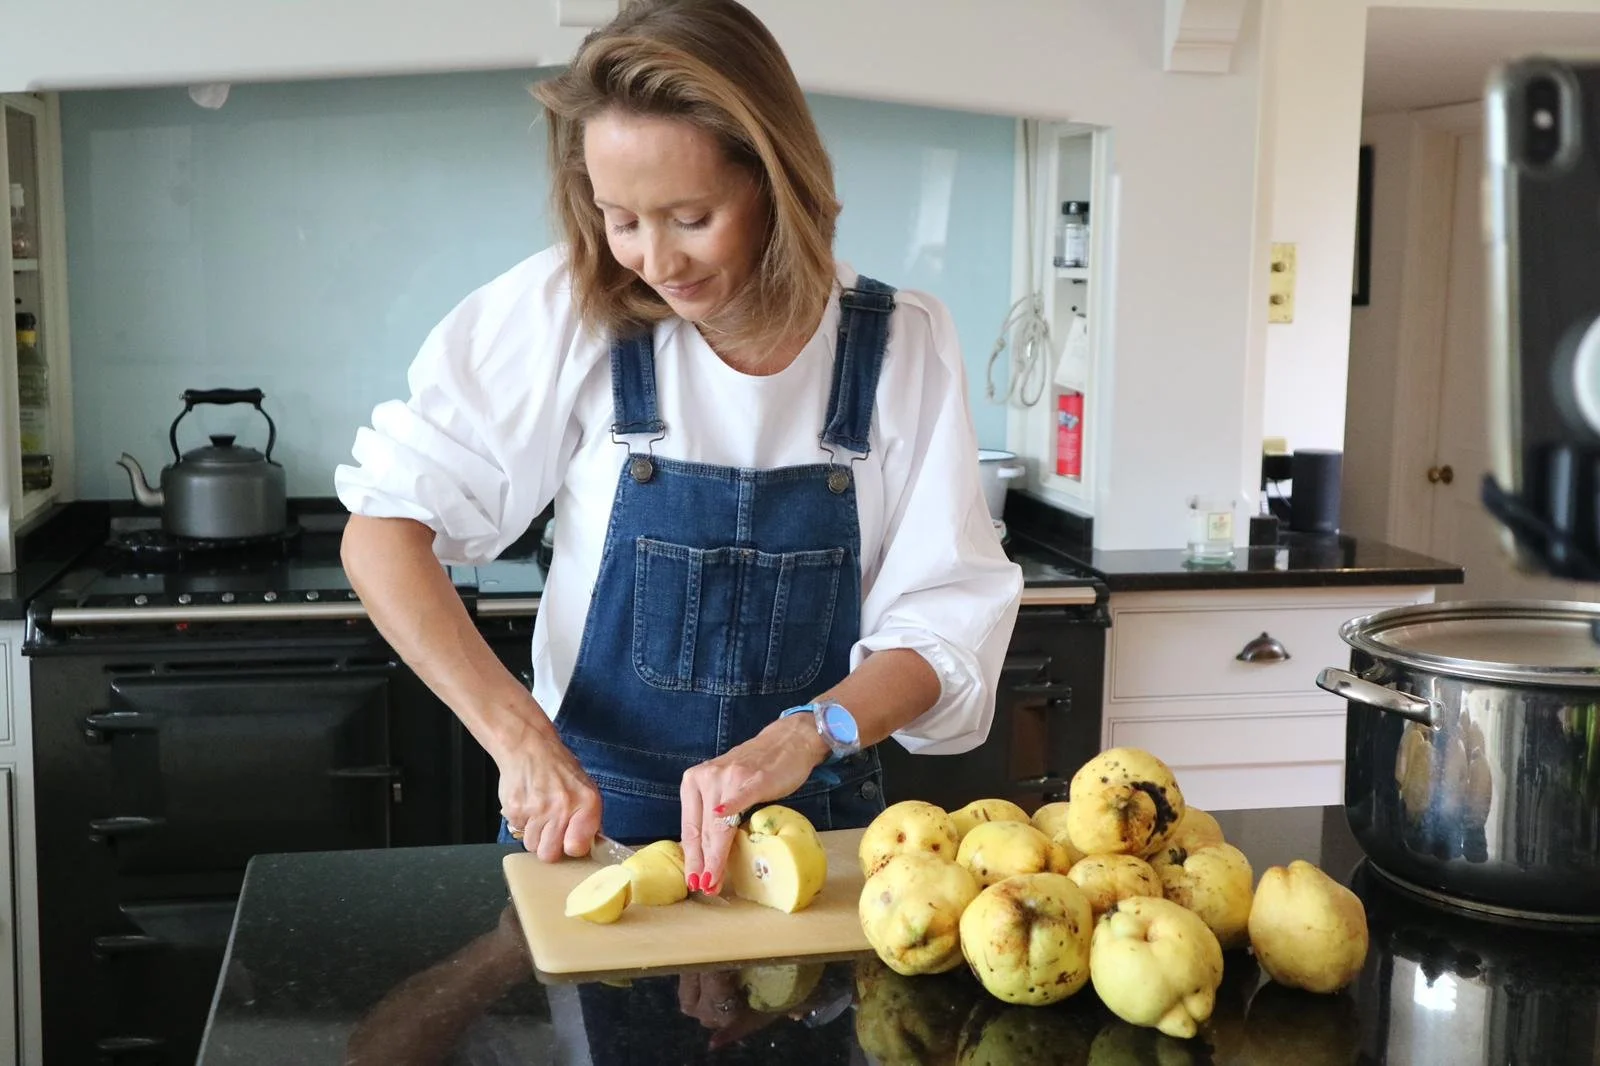
Chop the quince into chunks and put into a big pan.
Add cold water to about two-thirds of the way up to the quince.
Put the quince onto the hob to simmer - don’t let it boil at this point.
Leave simmering for about an hour, with lid off.
Whilst the quince bubbles away, prepare your jam strainers.
Attach the mesh bag to the stands with the elastic and pop them over a bowl ready to drain the quince pulp.
Every now and then, mash your quince with a potato masher to really get the pulp going.
Using a jam ladle, carefully place all of the quince pulp into the bags to drain. Do fill them to capacity but don’t overfill.
Let this drip and drain for roughly 12 hours, I like to leave mine overnight.
You may find that your pulp drains in 5 hours, just keep an eye on it!
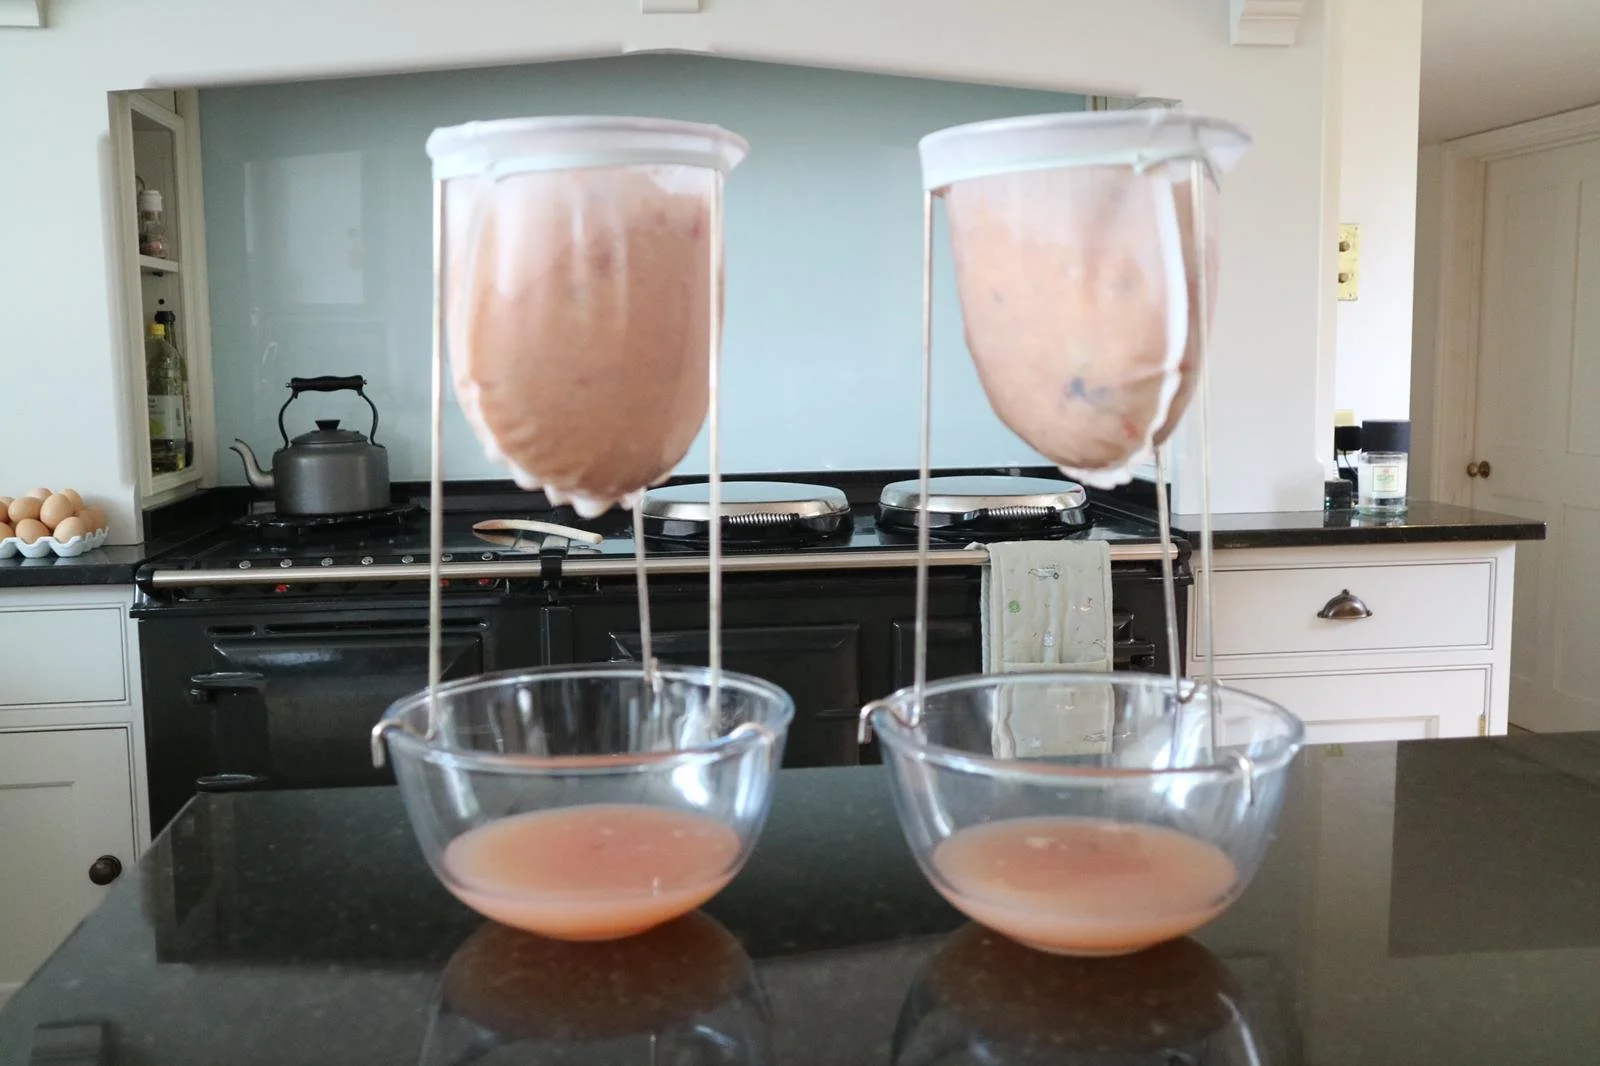
Once the quince pulp has drained, collect and measure the juice you’re left with. This will determine how much sugar you need to use in the next stage.
For every pint of quince juice, you need 500g of caster or granulated sugar.
For the above demonstration, I have a jugful at just under a pint and quarter, so I’ve weighed out 600g of sugar which is about right.
Pour the juice into the preserving pan, and make sure you get as much as you possibly can out into the pan - every drop counts!
Put your sugar in and place the pan on the heat. Don’t put it onto a high heat immediately, you want the sugar to dissolve slowly and gradually.
Simmer until sugar has melted and then bring up to a boiling point.
If you’ve not already got your jam jars sterilised, now is a good time to do so whilst the sugar melts.
I like to take the jars straight from the dishwasher and put them into a hot oven for 5 minutes.
When trying to guess how many jars you might need, do more than you think to ensure you have enough!
Pop two plates into your freezer ready for the jelly set test.
Bring your jelly up to the boil as soon as the sugar has melted. Keep it boiling for approximately 10 minutes. Don’t over-stir it, as this can cause more scum and make it cloudy.
Set your timer ready to do your set test!
After 10 minutes, grab your plate from the freezer, drop a little of the jelly onto the plate and run it back to the freezer. Leave it in there for 30 seconds, before removing and pushing the jelly with one of your fingers. If the jelly wrinkles when you push it, it’s done! If not, repeat this whole process in another couple of minutes.
When it’s set, remove the pan from the heat.
Remove the scum from the surface with a slotted spoon, and place your jam funnel into your first jam jar ready to ladle it in!
You do want to work quite quickly at this point, it's a terrible time for somebody to call in or give you a ring! So do try and do this when you’re not expecting any disturbances!
Use your jam funnel to carefully ladle the quince jelly in, grab some wax discs, pop one onto the top of the jelly as soon as you’ve filled them and you’re done! Delicious quince jelly ready to be enjoyed this Autumn!!!
Love,