
Homegrown & homemade - how to make a beautiful Christmas Wreath for your door...
Wreaths are one of my absolute favourite decorations during the festive period - they look so beautiful hanging on your front door and are surprisingly easy to make!
The first two steps for creating your own lovely Christmas Wreath are to get yourself an oasis ring, and get outside! Have a good old forage around your garden for the rich green foliage and bright berries all around you at this time of year.
Do try to start creating your wreaths in the morning so it's nice and bright, you have plenty of time to prep and if you do find that you need more foliage you don't have to go out searching in the dark!

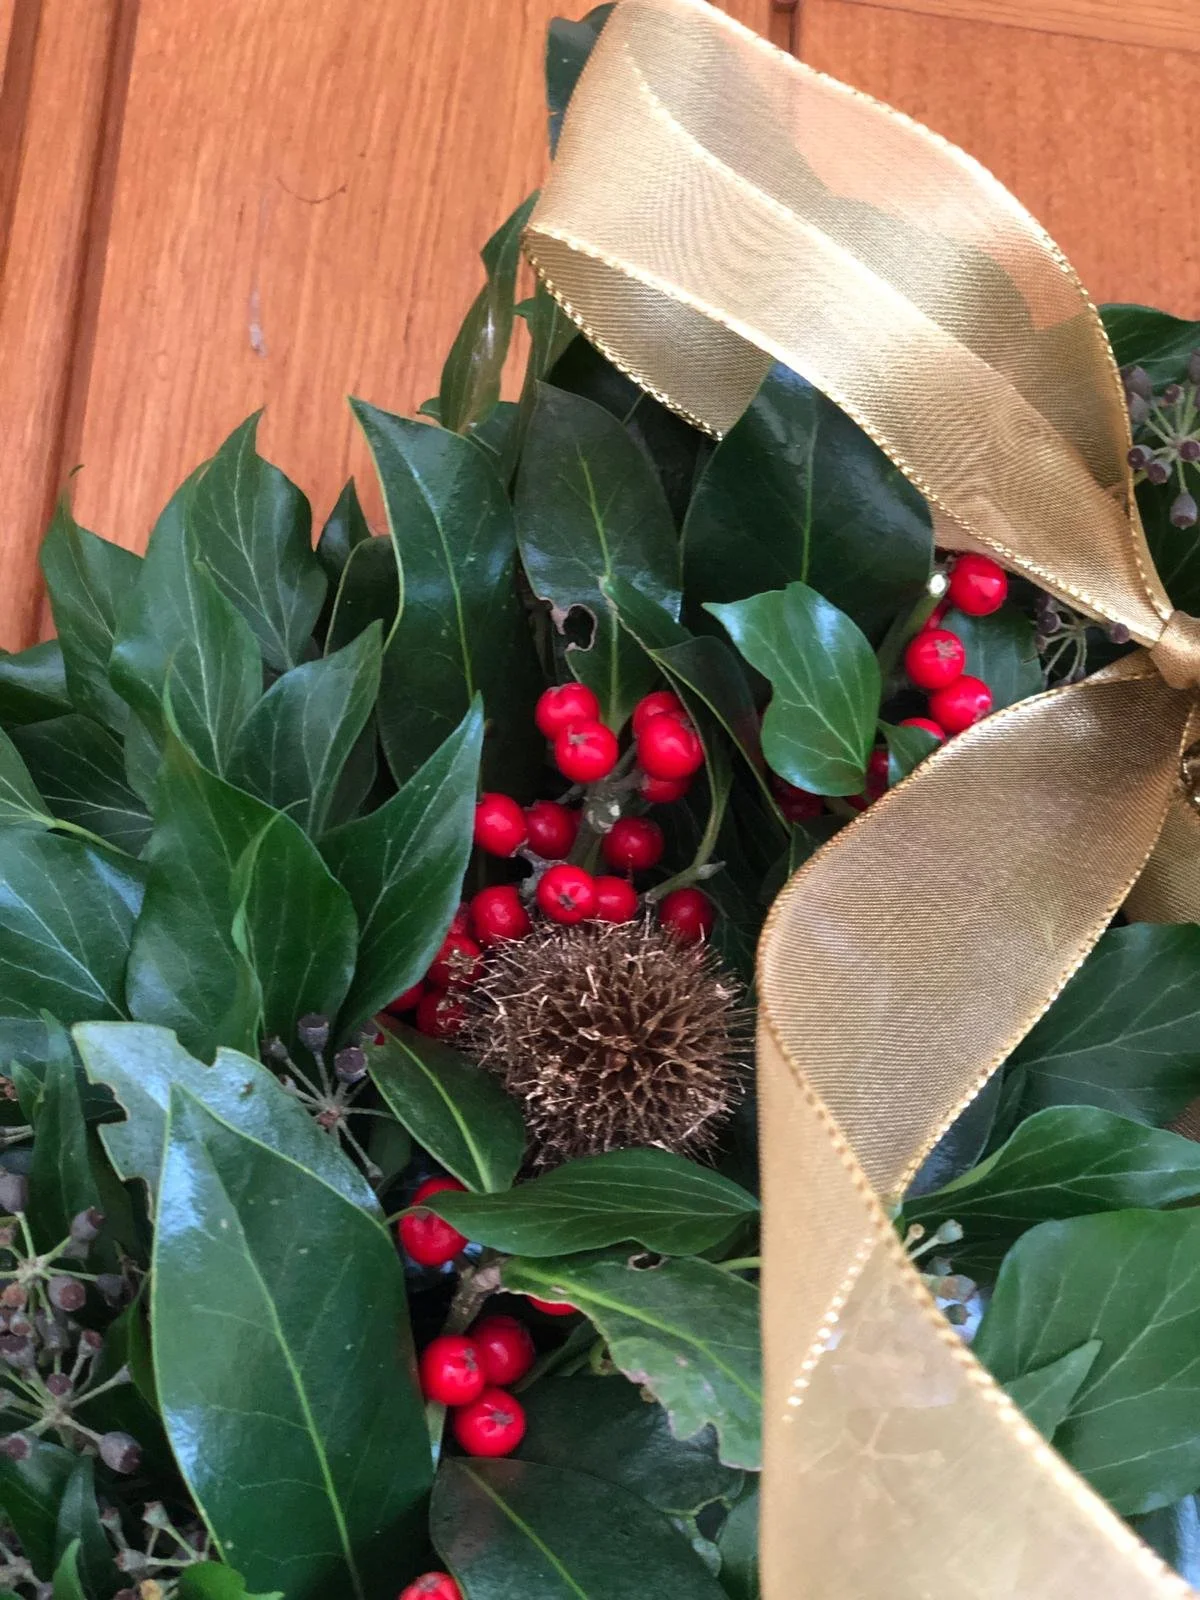
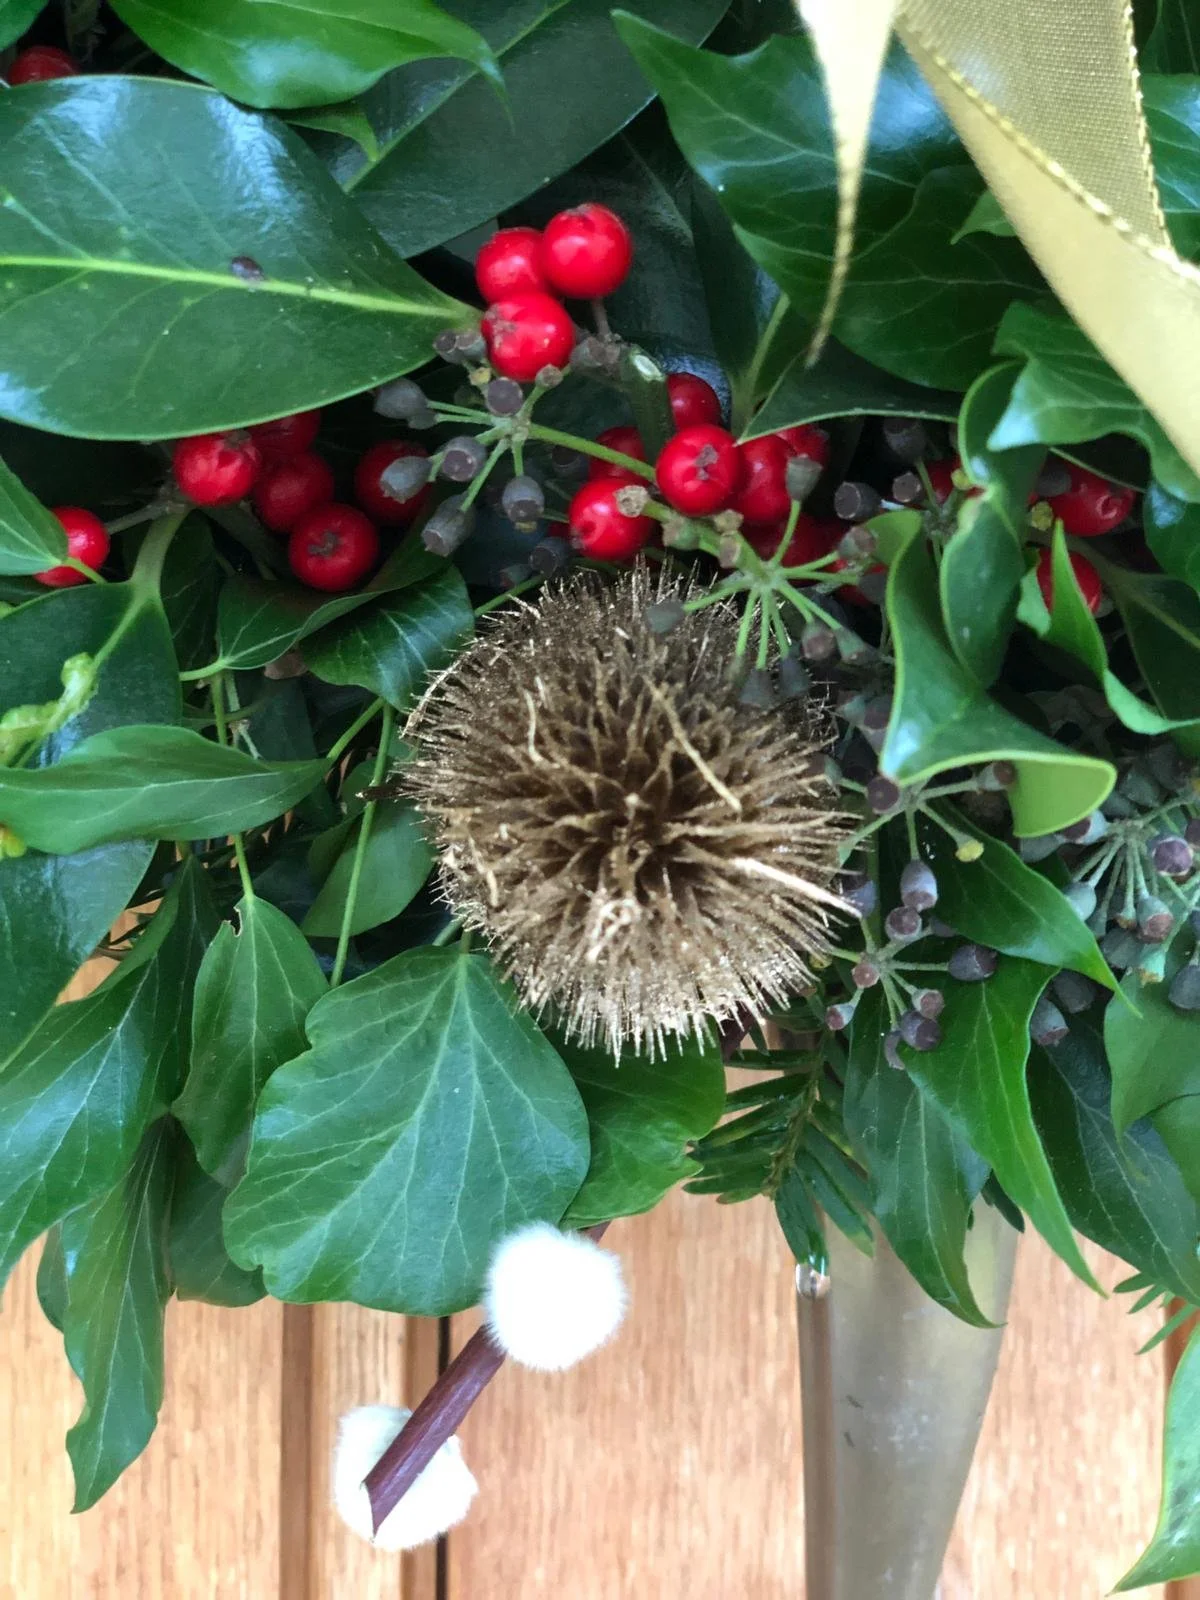
For this wreath I collected some Yew (do be mindful of the poisonous berries), Ivy, Holly, Teasels & Pussywillow.
A few hours before you'd like to start building your wreath, submerge your oasis ring in a bowl of water to get a good soak. This will ensure your foliage etc keeps fresher for much, much longer - although you will be able to give it a water if they're ever looking tired!
It's during this soaking time that I prep the rest of my bits and pieces ready for building the wreath - spray painting my teasels gold, gathering all of my forage garden goodies and laying out the table ready!
Once the ring is soaked through, move it from the sink and over to your wreath-building area.
I start with my yew, and pop it at an angle all the way around the edge of the ring. This sets the shape for your wreath, and also works to hide the plastic base.
Pull the lower leaves from the stem to make it much easier to insert into the ring itself.
After you've covered the whole of the edge with your yew, start building the body up with the ivy. Cut little pieces of the ivy, remove any of the less-than-perfect leaves and insert into the body of the ring. Work your way around and build it up layer by layer until it looks lovely and full, with as little gaps as possible.
It is good practice to be quite decisive with your oasis, as once you've created a few holes from pieces of foliage that you've decided to move elsewhere, the areas can begin to lose 'gripping' strength and can look quite untidy.
Now it's time for the holly! Cut little pieces from your main stem, try to get lovely clusters of berries and start to poke them in amongst your ivy. I try to get a nice symmetrical look, but you can be more sporadic if you prefer! Keep a gap at the top for your ribbon!
Your wreath should be looking pretty beautiful by now, but do grab your ivy and fill in any gaps that are still noticeable at this point.
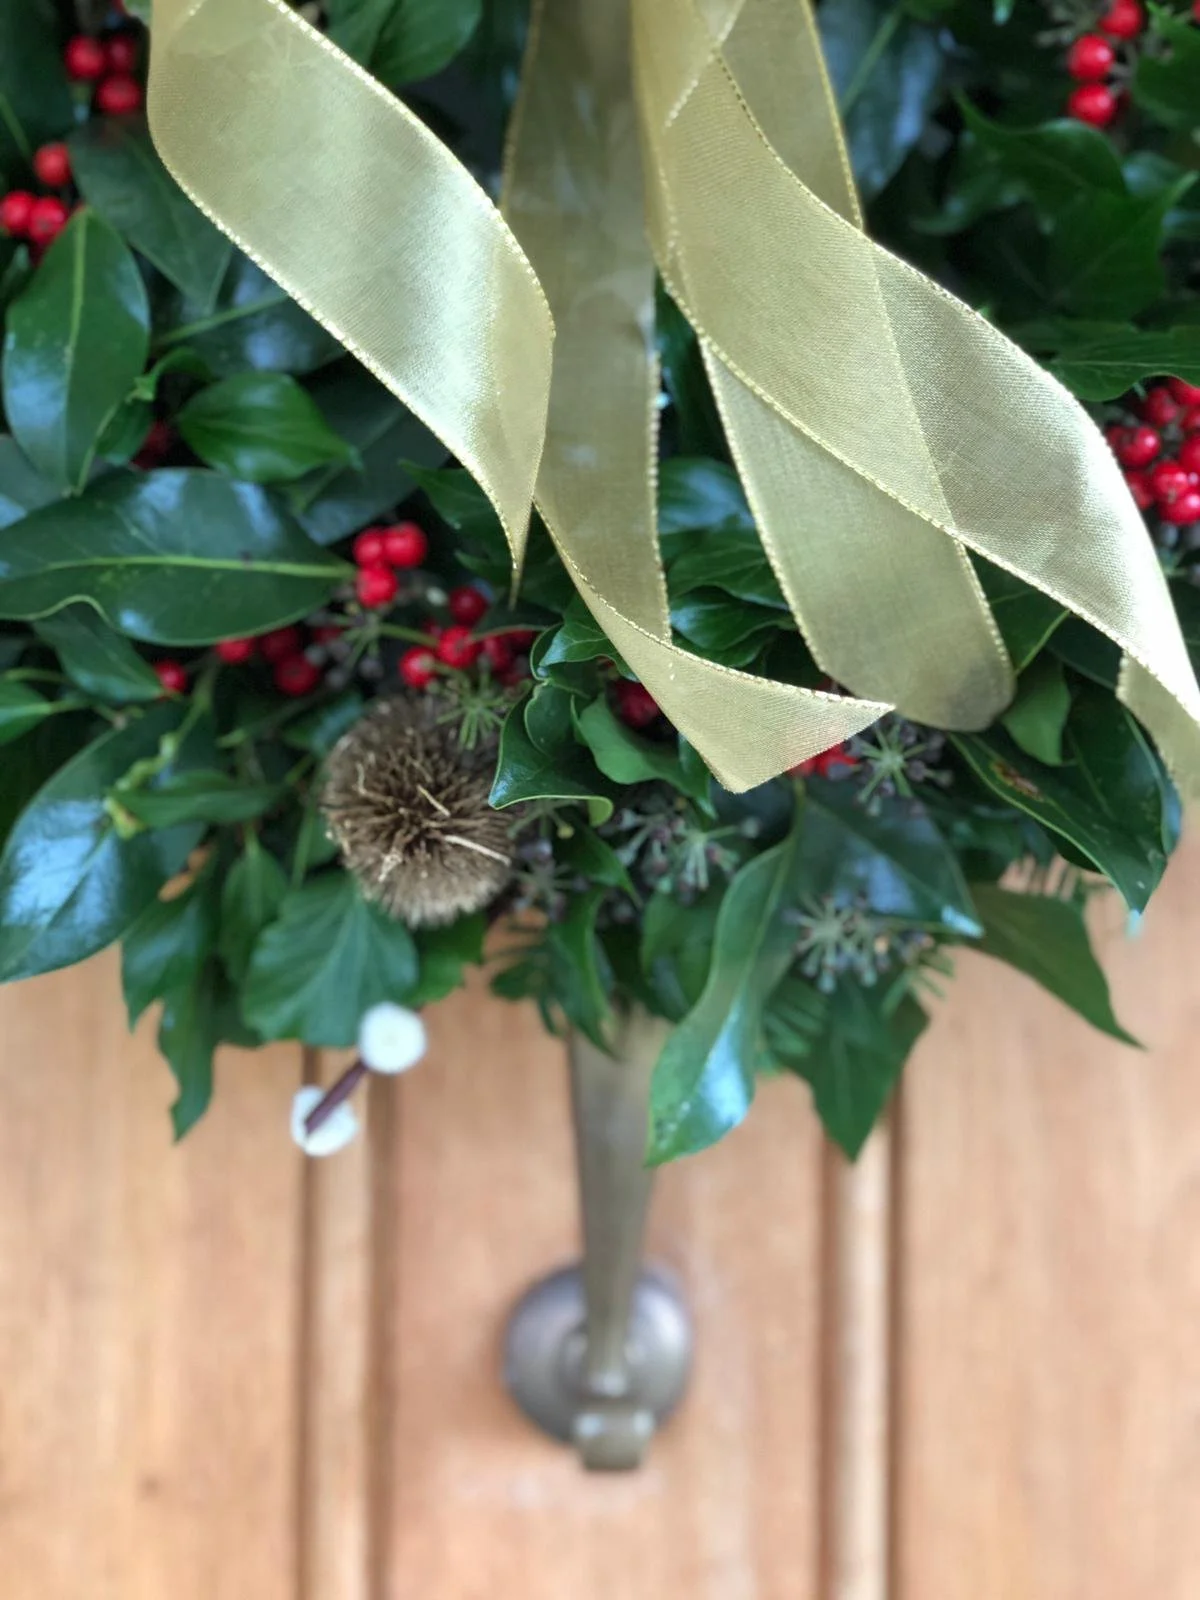
This is when I like to add my pieces of pussy willow to the edges in amongst the yew - they add such a pretty delicate texture to the wreath and such a wonderful finishing touch!
It's time for the ribbon. Get yourself a nice long length and cut at an angle for a clean finish. Tie your first piece around the top part of your wreath, tying in a double knot so it is nice and secure.
Grab a second piece of ribbon as before, this time threading it through the piece you have just applied. Tie this piece in a big bow, then trim accordingly!

Once you've gotten everything almost to finishing point, you can get a good idea of the best place to add your gold teasels. Do be careful, these can be quite spikey - wear rubber gloves if you'd prefer.
And we're finished! One gorgeous, homegrown and homemade Christmas wreath to hang on your door and bring a smile to all who enter your home over the festive period!

If you make your own wreaths this Christmas, I would so love to see them! Use the hashtag #AskCharlie so I can take a look!
Love, Charlie x